
Copy your
MCP server URL
Open Integrations in your PicoPixel account, then copy your personal MCP server URL.
https://app.picopixel.io/mcp/stream?userToken=<YOUR_PRIVATE_TOKEN>Conecta tu asistente de IA al servidor PicoPixel LVGL MCP. Crea y edita pantallas, widgets, temas, fuentes e iconos directamente en el proyecto que tienes abierto.
Open Integrations in your PicoPixel account, then copy your personal MCP server URL.
https://app.picopixel.io/mcp/stream?userToken=<YOUR_PRIVATE_TOKEN>In Claude desktop or claude.ai, go to Customize → Connectors. Name it PicoPixel and paste the URL.
Ask Claude to use the PicoPixel LVGL MCP server to create or edit an LVGL interface.
Open Integrations in your PicoPixel account, then copy your personal MCP server URL.
https://app.picopixel.io/mcp/stream?userToken=<YOUR_PRIVATE_TOKEN>Open ChatGPT Plugins, click Add (+) → Add Custom MCP Server, then name it PicoPixel and paste your copied URL into Server URL.
Create and install the custom plugin, then ask ChatGPT to use the PicoPixel LVGL MCP server to create or edit an LVGL interface.
Open Integrations in your PicoPixel account, then copy your personal MCP server URL.
https://app.picopixel.io/mcp/stream?userToken=<YOUR_PRIVATE_TOKEN>Replace <server-url> in the command below with the URL you copied, then paste the completed command into Claude Code and run it. Ask Claude Code to use the PicoPixel LVGL MCP server to create or edit an LVGL interface.
claude mcp add --transport http PicoPixel-LVGL "<server-url>"Open Integrations in your PicoPixel account, then copy your personal MCP server URL.
https://app.picopixel.io/mcp/stream?userToken=<YOUR_PRIVATE_TOKEN>Replace <server-url> in the command below with the URL you copied, then paste the completed command into OpenClaw and run it. Ask OpenClaw to use the PicoPixel LVGL MCP server to create or edit an LVGL interface.
openclaw mcp add PicoPixel-LVGL --url "<server-url>" --transport streamable-httpOpen Integrations in your PicoPixel account, then copy your personal MCP server URL.
https://app.picopixel.io/mcp/stream?userToken=<YOUR_PRIVATE_TOKEN>Replace <server-url> in the command below with the URL you copied, then paste the completed command into Hermes and run it. Ask Hermes to use the PicoPixel LVGL MCP server to create or edit an LVGL interface.
hermes mcp add PicoPixel-LVGL --url "<server-url>"Open Integrations → MCP client JSON configuration → Copy Config.
{"mcpServers":{"picopixel-lvgl":{"url":"https://app.picopixel.io/mcp/stream?userToken=<YOUR_PRIVATE_TOKEN>"}}}{
"mcpServers": {
"picopixel-lvgl": {
"url": "https://app.picopixel.io/mcp/stream?userToken=<YOUR_PRIVATE_TOKEN>"
}
}
}Add the copied config to your client’s MCP settings and save.
Ask your assistant to use the PicoPixel LVGL MCP server to create or edit an LVGL interface.
Crea un panel de salud con todos los datos de mi Apple Watch: actividad, frecuencia cardíaca, sueño y objetivos diarios.
Comprobaré el proyecto y las herramientas disponibles antes de hacer los cambios.
Comprobar la conexión y el acceso al proyecto abierto.
Consultar cómo trabajar con el editor LVGL de PicoPixel.
Buscar las herramientas y operaciones necesarias para esta petición.
Revisar las pantallas, los widgets y los recursos disponibles.
El proyecto está listo. Colocaré los elementos y el contenido, y después ajustaré el estilo.
Crear y colocar los widgets.
Aplicar fuentes, colores y espaciado.
Los cambios ya están aplicados. Revisaré la pantalla antes de terminar.
Volver a leer los widgets modificados para comprobar el resultado.
Los cambios ya están en el lienzo de PicoPixel. Puedes revisarlos y seguir editando.
Listo en PicoPixel
Dale a este panel de carreras un tema claro con tonos cálidos y detalles naranjas. Conserva la distribución y asegúrate de que los indicadores se lean bien.
Revisaré los estilos del panel y crearé un tema claro con tonos cálidos y detalles naranjas.
Comprobar la conexión y el acceso al proyecto abierto.
Consultar los recursos de temas y las operaciones de estilo.
Revisar los colores, indicadores y barras de progreso del panel.
Usaré un fondo blanco cálido, texto oscuro y detalles naranjas.
Crear colores reutilizables para el fondo, el texto y los detalles.
Aplicar la paleta a los indicadores, las etiquetas y las barras de progreso.
La paleta ya está aplicada. Comprobaré el contraste y la coherencia visual de todo el panel.
Revisar los estilos actualizados y comprobar que la distribución se conserva.
El tema claro está listo. Los indicadores y las barras de progreso comparten los detalles naranjas y la distribución se conserva.
Listo en PicoPixel
Genera las fuentes Doto, Playfair y JetBrains Mono a 12, 18 y 24 px. Añade iconos de color y de contorno, y muéstralo todo en una pantalla.
Primero generaré las fuentes en esos tamaños. Después añadiré iconos de varios paquetes.
Crear Doto a 12, 18 y 24 px y añadir muestras de cada tamaño.
Crear Playfair en los mismos tres tamaños.
Añadir JetBrains Mono y completar las muestras de fuentes.
Las muestras de fuentes están listas. Ahora añadiré los iconos de color y de contorno.
Añadir los iconos de globo terráqueo, cámara y regalo de Fluent UI.
Añadir los iconos de paisaje, música y bombilla de Flat Color.
Añadir un cohete, un libro y un planeta de otros paquetes de iconos.
Comprobar las fuentes, los iconos y la pantalla de muestras.
Tus fuentes e iconos están listos para usar en PicoPixel.
Listo en PicoPixel
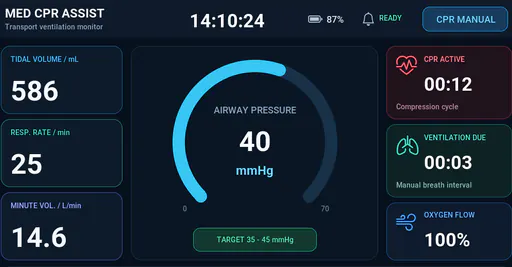
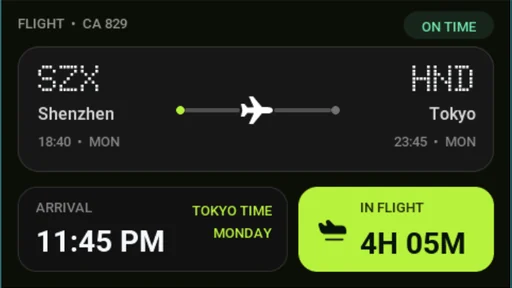
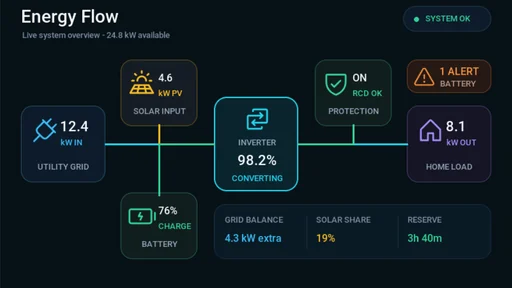
Tres proyectos de interfaces embebidas que puedes abrir en el editor, revisar y seguir modificando.
Ver todos los ejemplosPicoPixel LVGL MCP is an MCP server that connects your AI assistant to the PicoPixel LVGL editor through the Model Context Protocol (MCP). It lets your assistant inspect, create, and edit native LVGL screens, widgets, and resources in your active project, so you can describe what you want and see the result on your canvas.
Your assistant can inspect existing screens, create and arrange LVGL widgets, adjust layouts and styles, work with fonts and icons, and create reusable components and color themes. Changes are made directly in your PicoPixel project and remain editable.
Choose your assistant in the setup section above and follow its connection steps. Depending on the client, you can sign in through a connector or use the personal MCP server URL from your PicoPixel account’s Integrations settings. Then open the project you want to work on. Read the PicoPixel LVGL MCP setup and agent settings guide.
The setup guide covers Claude, ChatGPT, Cursor, Claude Code, OpenClaw, Hermes, and Grok Bot. Other MCP-capable clients can use the general setup instructions with the connection details from your PicoPixel account.
Yes. Keep the project you want your assistant to work on open in a signed-in PicoPixel browser tab. MCP works with the active file through that tab, so the editor needs to stay connected while your assistant reads or changes the design.
Yes. Read-only mode lets your assistant inspect the project without changing it. To create or edit a design, enable write access in PicoPixel. Your assistant also needs your account to have edit permission for the active file.
Yes. MCP creates and updates native PicoPixel screens and widgets. You can review the result on the canvas, adjust it manually, undo changes, or ask your assistant to refine it further.
Yes. Different account types have different MCP call limits to help our servers maintain a responsive, reliable experience for all users. View the call limits for each account type on the pricing page.