
Copy your
MCP server URL
Open Integrations in your PicoPixel account, then copy your personal MCP server URL.
https://app.picopixel.io/mcp/stream?userToken=<YOUR_PRIVATE_TOKEN>Connect your AI assistant to the PicoPixel LVGL MCP server. Create and edit embedded screens, widgets, themes, fonts, and icons in your active project.
Open Integrations in your PicoPixel account, then copy your personal MCP server URL.
https://app.picopixel.io/mcp/stream?userToken=<YOUR_PRIVATE_TOKEN>In Claude desktop or claude.ai, go to Customize → Connectors. Name it PicoPixel and paste the URL.
Ask Claude to use the PicoPixel LVGL MCP server to create or edit an LVGL interface.
Open Integrations in your PicoPixel account, then copy your personal MCP server URL.
https://app.picopixel.io/mcp/stream?userToken=<YOUR_PRIVATE_TOKEN>Open ChatGPT Plugins, click Add (+) → Add Custom MCP Server, then name it PicoPixel and paste your copied URL into Server URL.
Create and install the custom plugin, then ask ChatGPT to use the PicoPixel LVGL MCP server to create or edit an LVGL interface.
Open Integrations in your PicoPixel account, then copy your personal MCP server URL.
https://app.picopixel.io/mcp/stream?userToken=<YOUR_PRIVATE_TOKEN>Replace <server-url> in the command below with the URL you copied, then paste the completed command into Claude Code and run it. Ask Claude Code to use the PicoPixel LVGL MCP server to create or edit an LVGL interface.
claude mcp add --transport http PicoPixel-LVGL "<server-url>"Open Integrations in your PicoPixel account, then copy your personal MCP server URL.
https://app.picopixel.io/mcp/stream?userToken=<YOUR_PRIVATE_TOKEN>Replace <server-url> in the command below with the URL you copied, then paste the completed command into OpenClaw and run it. Ask OpenClaw to use the PicoPixel LVGL MCP server to create or edit an LVGL interface.
openclaw mcp add PicoPixel-LVGL --url "<server-url>" --transport streamable-httpOpen Integrations in your PicoPixel account, then copy your personal MCP server URL.
https://app.picopixel.io/mcp/stream?userToken=<YOUR_PRIVATE_TOKEN>Replace <server-url> in the command below with the URL you copied, then paste the completed command into Hermes and run it. Ask Hermes to use the PicoPixel LVGL MCP server to create or edit an LVGL interface.
hermes mcp add PicoPixel-LVGL --url "<server-url>"Open Integrations → MCP client JSON configuration → Copy Config.
{"mcpServers":{"picopixel-lvgl":{"url":"https://app.picopixel.io/mcp/stream?userToken=<YOUR_PRIVATE_TOKEN>"}}}{
"mcpServers": {
"picopixel-lvgl": {
"url": "https://app.picopixel.io/mcp/stream?userToken=<YOUR_PRIVATE_TOKEN>"
}
}
}Add the copied config to your client’s MCP settings and save.
Ask your assistant to use the PicoPixel LVGL MCP server to create or edit an LVGL interface.
Create a health dashboard with all my Apple Watch health data, including activity, heart rate, sleep, and daily goals.
I’ll check the project and available tools, then make the requested changes.
Check the connection and access to the active project.
Review how to work with the PicoPixel LVGL editor.
Look up the tools and operations needed for the request.
Inspect the current screens, widgets, and available resources.
The project is ready. I’ll put the layout and content in place, then refine the styling.
Creating and arranging the widgets.
Applying fonts, colors, and spacing.
The changes are in place. I’ll check the updated screen before wrapping up.
Reading back the updated widgets to verify the result.
The changes are ready on your PicoPixel canvas. You can review and keep editing.
Ready in PicoPixel
Give this racing dashboard a warm light theme with orange accents. Keep the layout and make the gauges easy to read.
I’ll check the dashboard’s styles, then create a warm light theme with orange accents.
Check the connection and access to the active project.
Look up theme resources and style operations.
Inspect the dashboard’s colors, gauges, and progress bars.
I’ll use a warm off-white background, dark text, and orange highlights.
Create reusable background, text, and accent colors.
Apply the palette to the gauges, labels, and progress bars.
The palette is applied. I’ll check the contrast and consistency across the dashboard.
Check the updated styles and confirm the layout is preserved.
Your light theme is ready. The gauges and progress bars share orange accents, and the layout stays intact.
Ready in PicoPixel
Generate Doto, Playfair, and JetBrains Mono fonts at 12, 18, and 24 px. Add color and outline icons, and show everything on one screen.
I’ll generate the font sizes first, then add icons from several packs.
Create Doto at 12, 18, and 24 px and add its samples.
Create Playfair at the same three sizes.
Add JetBrains Mono and complete the font samples.
The font samples are ready. I’ll add color and outline icons next.
Add the Fluent UI globe, camera, and gift icons.
Add Flat Color landscape, music, and light bulb icons.
Add a rocket, book, and planet from more icon packs.
Check the generated fonts, icon assets, and preview screen.
Your fonts and icons are ready to use in PicoPixel.
Ready in PicoPixel
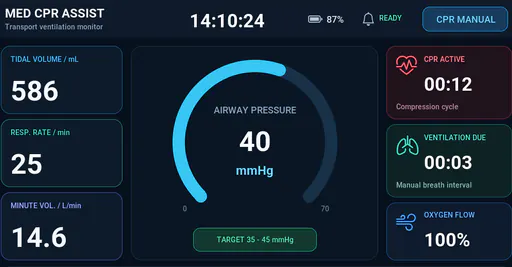
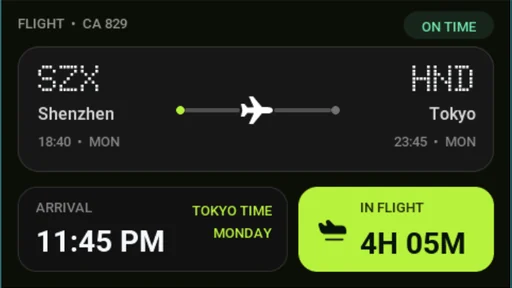
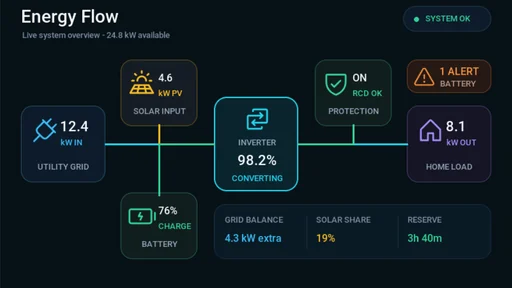
Three embedded interface projects you can open in the editor, inspect visually, and continue editing.
View all examplesPicoPixel LVGL MCP is an MCP server that connects your AI assistant to the PicoPixel LVGL editor through the Model Context Protocol (MCP). It lets your assistant inspect, create, and edit native LVGL screens, widgets, and resources in your active project, so you can describe what you want and see the result on your canvas.
Your assistant can inspect existing screens, create and arrange LVGL widgets, adjust layouts and styles, work with fonts and icons, and create reusable components and color themes. Changes are made directly in your PicoPixel project and remain editable.
Choose your assistant in the setup section above and follow its connection steps. Depending on the client, you can sign in through a connector or use the personal MCP server URL from your PicoPixel account’s Integrations settings. Then open the project you want to work on. Read the PicoPixel LVGL MCP setup and agent settings guide.
The setup guide covers Claude, ChatGPT, Cursor, Claude Code, OpenClaw, Hermes, and Grok Bot. Other MCP-capable clients can use the general setup instructions with the connection details from your PicoPixel account.
Yes. Keep the project you want your assistant to work on open in a signed-in PicoPixel browser tab. MCP works with the active file through that tab, so the editor needs to stay connected while your assistant reads or changes the design.
Yes. Read-only mode lets your assistant inspect the project without changing it. To create or edit a design, enable write access in PicoPixel. Your assistant also needs your account to have edit permission for the active file.
Yes. MCP creates and updates native PicoPixel screens and widgets. You can review the result on the canvas, adjust it manually, undo changes, or ask your assistant to refine it further.
Yes. Different account types have different MCP call limits to help our servers maintain a responsive, reliable experience for all users. View the call limits for each account type on the pricing page.