Copy your
MCP server URL
Open Integrations in your PicoPixel account, then copy your personal MCP server URL.
https://app.picopixel.io/mcp/stream?userToken=<YOUR_PRIVATE_TOKEN>Verbinde deinen KI-Assistenten mit dem PicoPixel LVGL MCP Server. Erstelle und bearbeite Ansichten, Widgets, Themes, Schriften und Icons direkt in deinem geöffneten Projekt.
Open Integrations in your PicoPixel account, then copy your personal MCP server URL.
https://app.picopixel.io/mcp/stream?userToken=<YOUR_PRIVATE_TOKEN>In Claude desktop or claude.ai, go to Customize → Connectors. Name it PicoPixel and paste the URL.
Ask Claude to use the PicoPixel LVGL MCP server to create or edit an LVGL interface.
Open Integrations in your PicoPixel account, then copy your personal MCP server URL.
https://app.picopixel.io/mcp/stream?userToken=<YOUR_PRIVATE_TOKEN>Open ChatGPT Plugins, click Add (+) → Add Custom MCP Server, then name it PicoPixel and paste your copied URL into Server URL.
Create and install the custom plugin, then ask ChatGPT to use the PicoPixel LVGL MCP server to create or edit an LVGL interface.
Open Integrations in your PicoPixel account, then copy your personal MCP server URL.
https://app.picopixel.io/mcp/stream?userToken=<YOUR_PRIVATE_TOKEN>Replace <server-url> in the command below with the URL you copied, then paste the completed command into Claude Code and run it. Ask Claude Code to use the PicoPixel LVGL MCP server to create or edit an LVGL interface.
claude mcp add --transport http PicoPixel-LVGL "<server-url>"Open Integrations in your PicoPixel account, then copy your personal MCP server URL.
https://app.picopixel.io/mcp/stream?userToken=<YOUR_PRIVATE_TOKEN>Replace <server-url> in the command below with the URL you copied, then paste the completed command into OpenClaw and run it. Ask OpenClaw to use the PicoPixel LVGL MCP server to create or edit an LVGL interface.
openclaw mcp add PicoPixel-LVGL --url "<server-url>" --transport streamable-httpOpen Integrations in your PicoPixel account, then copy your personal MCP server URL.
https://app.picopixel.io/mcp/stream?userToken=<YOUR_PRIVATE_TOKEN>Replace <server-url> in the command below with the URL you copied, then paste the completed command into Hermes and run it. Ask Hermes to use the PicoPixel LVGL MCP server to create or edit an LVGL interface.
hermes mcp add PicoPixel-LVGL --url "<server-url>"Open Integrations → MCP client JSON configuration → Copy Config.
{"mcpServers":{"picopixel-lvgl":{"url":"https://app.picopixel.io/mcp/stream?userToken=<YOUR_PRIVATE_TOKEN>"}}}{
"mcpServers": {
"picopixel-lvgl": {
"url": "https://app.picopixel.io/mcp/stream?userToken=<YOUR_PRIVATE_TOKEN>"
}
}
}Add the copied config to your client’s MCP settings and save.
Ask your assistant to use the PicoPixel LVGL MCP server to create or edit an LVGL interface.
Erstelle ein Gesundheits-Dashboard mit allen Gesundheitsdaten meiner Apple Watch: Aktivität, Herzfrequenz, Schlaf und Tagesziele.
Ich prüfe das Projekt und die verfügbaren Werkzeuge und setze dann deine Änderungen um.
Verbindung und Zugriff auf das geöffnete Projekt prüfen.
Die Arbeitsweise des PicoPixel-LVGL-Editors nachschlagen.
Die passenden Werkzeuge und Operationen für die Anfrage ermitteln.
Vorhandene Ansichten, Widgets und Ressourcen prüfen.
Das Projekt ist bereit. Ich füge Layout und Inhalte ein und passe anschließend die Gestaltung an.
Widgets erstellen und anordnen.
Schriften, Farben und Abstände festlegen.
Die Änderungen sind umgesetzt. Zum Abschluss prüfe ich die überarbeitete Ansicht.
Die geänderten Widgets erneut auslesen und das Ergebnis prüfen.
Die Änderungen sind auf deiner PicoPixel-Arbeitsfläche zu sehen. Du kannst sie prüfen und weiterbearbeiten.
In PicoPixel bereit
Gib diesem Rennsport-Dashboard ein helles Theme mit warmen Farben und orangefarbenen Akzenten. Behalte das Layout bei und sorge für gut lesbare Anzeigen.
Ich prüfe die Stile des Dashboards und erstelle dann ein warmes, helles Theme mit orangefarbenen Akzenten.
Verbindung und Zugriff auf das geöffnete Projekt prüfen.
Theme-Ressourcen und Funktionen zum Ändern von Stilen nachschlagen.
Farben, Instrumente und Fortschrittsbalken des Dashboards prüfen.
Ich verwende einen warmweißen Hintergrund, dunklen Text und orangefarbene Akzente.
Wiederverwendbare Hintergrund-, Text- und Akzentfarben erstellen.
Die Farbpalette auf Instrumente, Beschriftungen und Fortschrittsbalken anwenden.
Die Farbpalette ist angewendet. Jetzt prüfe ich die Kontraste und die einheitliche Gestaltung im gesamten Dashboard.
Die neuen Stile prüfen und sicherstellen, dass das Layout erhalten bleibt.
Dein helles Theme ist fertig. Instrumente und Fortschrittsbalken haben einheitliche orangefarbene Akzente. Das Layout bleibt erhalten.
In PicoPixel bereit
Erstelle die Schriften Doto, Playfair und JetBrains Mono in 12, 18 und 24 px. Füge farbige Icons und Kontur-Icons hinzu und zeige alles in einer Ansicht.
Ich erstelle zuerst die Schriftgrößen und füge anschließend Icons aus mehreren Paketen hinzu.
Doto in 12, 18 und 24 px erstellen und Schriftproben einfügen.
Playfair in denselben drei Größen erstellen.
JetBrains Mono hinzufügen und die Schriftproben vervollständigen.
Die Schriftproben sind fertig. Als Nächstes füge ich farbige Icons und Kontur-Icons hinzu.
Globus-, Kamera- und Geschenk-Icons aus Fluent UI hinzufügen.
Landschafts-, Musik- und Glühbirnen-Icons aus Flat Color hinzufügen.
Rakete, Buch und Planet aus weiteren Icon-Paketen hinzufügen.
Die erstellten Schriften, Icons und die Vorschauansicht prüfen.
Deine Schriften und Icons sind in PicoPixel einsatzbereit.
In PicoPixel bereit
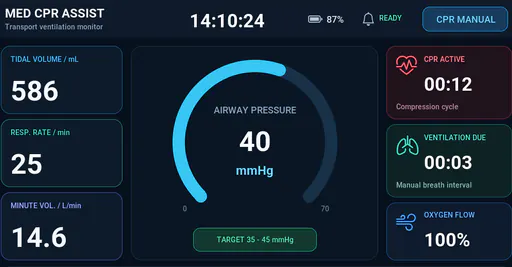
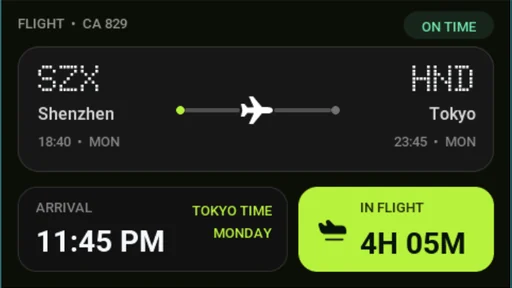
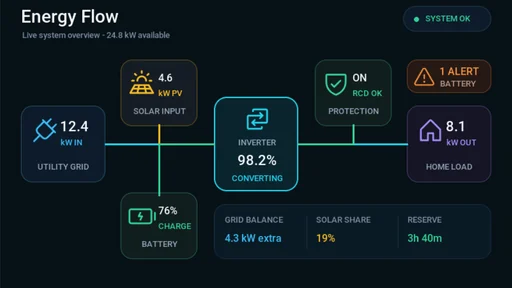
Drei Embedded-UI-Projekte, die du im Editor öffnen, ansehen und weiterbearbeiten kannst.
Alle Beispiele ansehenPicoPixel LVGL MCP is an MCP server that connects your AI assistant to the PicoPixel LVGL editor through the Model Context Protocol (MCP). It lets your assistant inspect, create, and edit native LVGL screens, widgets, and resources in your active project, so you can describe what you want and see the result on your canvas.
Your assistant can inspect existing screens, create and arrange LVGL widgets, adjust layouts and styles, work with fonts and icons, and create reusable components and color themes. Changes are made directly in your PicoPixel project and remain editable.
Choose your assistant in the setup section above and follow its connection steps. Depending on the client, you can sign in through a connector or use the personal MCP server URL from your PicoPixel account’s Integrations settings. Then open the project you want to work on. Read the PicoPixel LVGL MCP setup and agent settings guide.
The setup guide covers Claude, ChatGPT, Cursor, Claude Code, OpenClaw, Hermes, and Grok Bot. Other MCP-capable clients can use the general setup instructions with the connection details from your PicoPixel account.
Yes. Keep the project you want your assistant to work on open in a signed-in PicoPixel browser tab. MCP works with the active file through that tab, so the editor needs to stay connected while your assistant reads or changes the design.
Yes. Read-only mode lets your assistant inspect the project without changing it. To create or edit a design, enable write access in PicoPixel. Your assistant also needs your account to have edit permission for the active file.
Yes. MCP creates and updates native PicoPixel screens and widgets. You can review the result on the canvas, adjust it manually, undo changes, or ask your assistant to refine it further.
Yes. Different account types have different MCP call limits to help our servers maintain a responsive, reliable experience for all users. View the call limits for each account type on the pricing page.