Overview
Every PicoPixel file carries its own library, the colors, fonts, images, animated images, and components it uses, collected in the Assets panel. On its own, that library belongs to the one file. Publishing the file turns its library into something your teammates can reuse: link it from another file and its assets show up alongside that file's own.
This guide explains what a library is, exactly what Publish does (and, just as importantly, what it does not do), how to publish and link libraries, and where to find them. The single most important thing to take away:
Publishing does not make your work public. Publish makes a file's library reusable by your team only, the people in your PicoPixel workspace. It is never posted to the internet, never listed publicly, and never visible to anyone outside your team. The only ways content leaves your team are ones you take deliberately, covered at the end of this guide.
What a library is
A library is the set of reusable assets that lives inside a file. In the Assets panel you'll see your file's own assets under local library, it's always there and opens by default.
When you link another team library into your file, it appears as a second, separately named section below your local library, headed by that library's file name (for example, Animation Examples). So once a library is linked, the Assets panel shows both your file's own assets and the linked library's assets, side by side, ready to drag in.
Think of it as two shelves in the same cupboard: the local library is what this file made, and each linked library is a shelf borrowed from another file on your team. You pull from either without leaving your design.
What a library can hold
Anything in a file's Assets panel travels with its library when you publish. PicoPixel groups assets into these sections:
- Images, static graphics you've added to the file.
- Animated images, multi-frame animated graphics.
- Components, reusable LVGL widgets (see below).
- Colors, saved color swatches.
- Fonts, fonts you've added and converted for use on-device.
Publish the file and every one of these becomes reusable by your team, with no copy-pasting between files.
What a "component" is
A component is a reusable building block made of one or more widgets. Where a single button or label is one widget, a component can bundle several widgets and layers together, say, a styled card with a title, an icon, and a value, and treat the whole thing as one reusable unit you drop into any screen.
Each component has a main instance. Edit the main instance and the change flows to every copy of that component, everywhere it's used, even in other files that link your library. That's what makes components powerful for keeping a UI consistent: define a control once, reuse it everywhere, update it in one place.
If you find yourself rebuilding the same little cluster of widgets across screens, a header bar, a metric tile, a labelled toggle, that's a component waiting to happen. Build it once, and every screen stays in lockstep.
Publishing a file as a library
Publishing flips one switch: it marks your file as a shared library for your team.
- Open the Libraries dialog. From the Assets panel, use the Add library button (it reads Manage library once the file already has linked libraries or components).
- On the LIBRARIES tab, look under LIBRARIES IN THIS FILE. You'll see File library, that's the current file's library, with a Publish button next to it.
- Click Publish.
The button changes to Unpublish, confirming the file is now a shared library your team can link to. PicoPixel also adds a small library badge to the file: you'll see it in the top-right of the workspace header, and on the file's card back in the Dashboard, so it's easy to spot which files are published.
Clicking Unpublish later asks you to confirm, then unlinks the library. PicoPixel copies the library's assets down into any file that was using it first, so dependent files don't suddenly lose what they were relying on.
Finding your team's libraries
Published libraries are gathered in one place for the whole team.
- Open the Dashboard.
- In the left sidebar under Sources, click Libraries.
This page lists every library published across your team, scoped to the team you're in, switch teams and you'll see that team's libraries instead. It's the catalogue your teammates browse to see what's available to reuse.
Reusing a library in another file
Once a library is published, any file on the team can pull it in.
- Open the file you want to build in.
- In the Assets panel, click Add library (or Manage library) to open the Libraries dialog.
- In the SHARED LIBRARIES section, find the library you want, the Search shared libraries box helps when the list is long, and click the + next to it to link it.
The linked library now appears in your Assets panel as its own named section, beneath your local library. Drag its components, images, colors, and fonts straight into your design.
Keeping a linked library up to date
When a library you've linked changes, its owner edits a component or tweaks a color, those updates don't force themselves on you. The UPDATES tab of the Libraries dialog lists linked libraries with newer changes, and an Update button applies them to your file when you're ready. If nothing has changed, the tab simply tells you there's nothing to update.
Privacy: nothing here is ever made public
This is the part worth repeating, because the word Publish sounds bigger than it is.
Publishing a library shares it with your team and no one else. Access is authenticated and scoped to your team: there is no public link, no public listing, and no way for someone outside your team to reach a published library. "Published" means "available to my teammates," full stop.
There are exactly two ways anything you make leaves your team, and both are things you choose to do:
- You export and send a
.picopixelfile yourself. From the workspace menu you can Export.picopixel, which downloads a file to your computer. What you do with that file, email it, share it, hand it to someone, is entirely up to you and happens outside PicoPixel. - You make an official submission to the PicoPixel team. If you want your design shared with the wider PicoPixel community, submit it for review at
app.picopixel.io/#/settings/submit-template. The team reviews each submission before anything is published to the community gallery. See How to submit a template for what the form needs and the rights you grant.
Short of those two deliberate steps, your files and libraries stay inside your team.
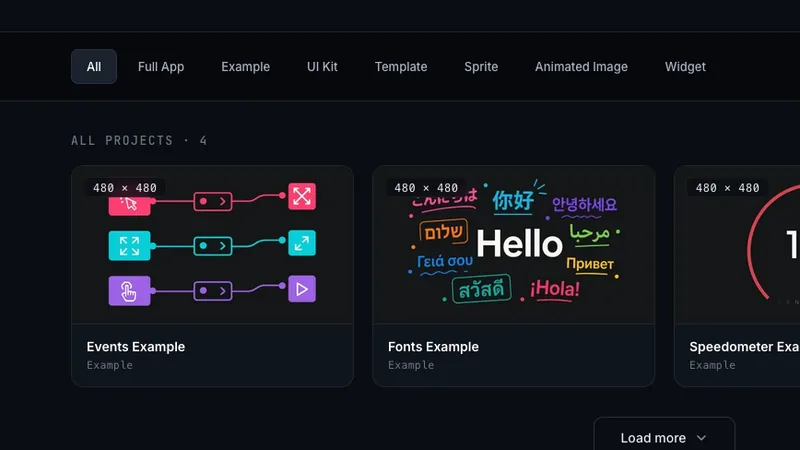
Community templates and ready-made libraries
You don't have to start from scratch. The PicoPixel templates gallery has a growing collection of templates, UI kits, examples, sprites, animated images, and full app files created by the PicoPixel team and the wider community. Each one is a regular .picopixel file you can open, customize, and use as a starting point for your own project.

Any template you open can also become a library: publish it and your team gets access to its components, fonts, colors, and images without rebuilding them. It's the fastest way to bootstrap a new project or add polished elements to an existing one.
For a full walkthrough of finding, importing, and customizing templates, see How to use PicoPixel templates, UI kits, and full apps.
Where to go next
- How to submit a template, share a design with the wider PicoPixel community
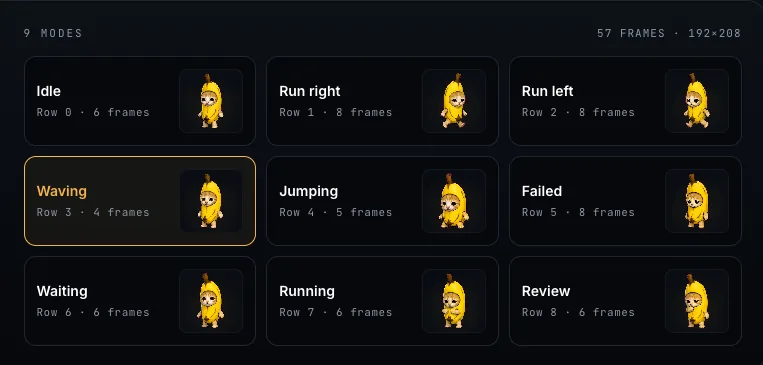
- What is a sprite?, build animated, multi-state widgets worth turning into components
- Working with fonts, add and convert the fonts your library carries
- Working with the LVGL Animated Image Widget, create the animated images you can reuse across files