Overview
PicoPixel is the ultimate editor for LVGL: a Figma-like workspace for building embedded UIs visually, with reusable components, libraries, assets, and collaboration tools built around the way LVGL projects actually ship.
Once you build a UI in PicoPixel, you can export C code and use that code on virtually any device that can run LVGL. PicoPixel currently supports LVGL 8.x, and LVGL 9 support is planned.
Templates, UI kits, examples, sprites, widgets, and full apps are starting points for that workflow. Some are built by the PicoPixel development team, and some are created by users and the wider community. If you have something useful to share, see How to submit a template.
What a template really is
A PicoPixel template is just a .picopixel file. Nothing magical is hiding behind it: it is the same kind of file you can export from your own workspace.
That means a template can contain screens, LVGL widgets, reusable components, colors, fonts, images, animated images, sprites, and other assets. When you open or import it, you are not locked into the original design. You can edit it, strip it down, copy parts into another file, publish it as a team library, or export it as LVGL C code.
The important idea is this: a template is not just a screenshot. It is an editable PicoPixel project file that can become part of your own LVGL workflow.
Where to find templates

The main place to browse is the PicoPixel templates gallery. You can filter the gallery by project type, open a project detail page, preview what is included, and choose how you want to bring it into PicoPixel.
You can also access the same file collection from GitHub:
GitHub is useful if you prefer downloading files directly, checking project history, or keeping .picopixel files alongside other project assets.
Pick the right kind of starting point
The gallery includes several kinds of files. Choose based on what you want to borrow.
- Full App, a complete app project. In the future, more full app entries may include a firmware binary so you can flash hardware more easily. For now, focus on opening the UI file, customizing it, and exporting the UI code for your own firmware.
- Example, a focused reference project that demonstrates one workflow, widget, layout, or interaction pattern.
- UI Kit, a reusable set of components, styles, screens, and assets you can adapt across multiple products.
- Template, a ready-made screen or project layout you can customize into your own interface.
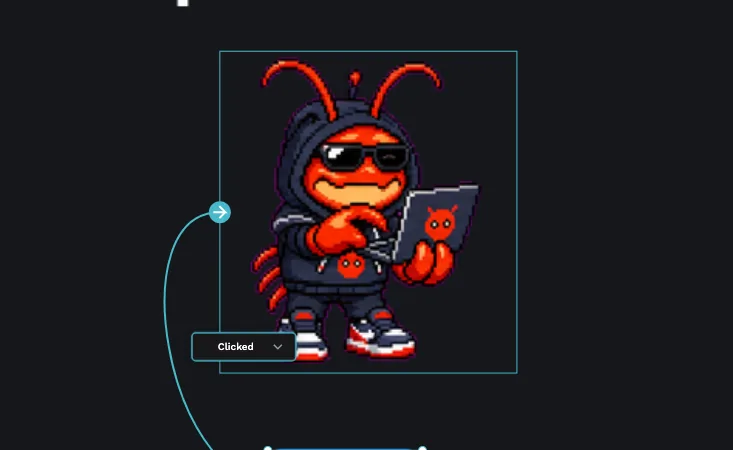
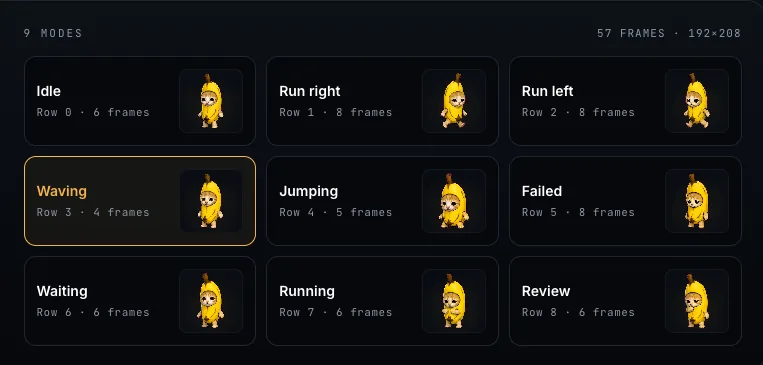
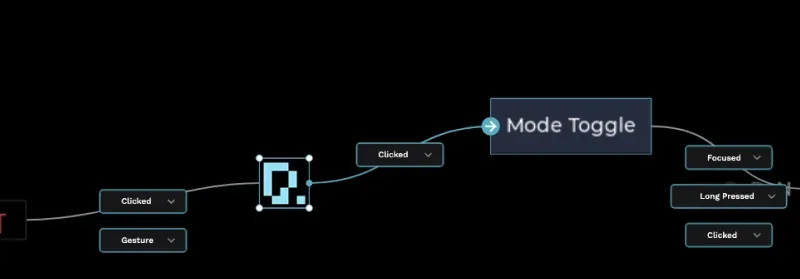
- Sprite, a reusable animated, multi-state LVGL widget. See What is a sprite? for how sprites work in PicoPixel.
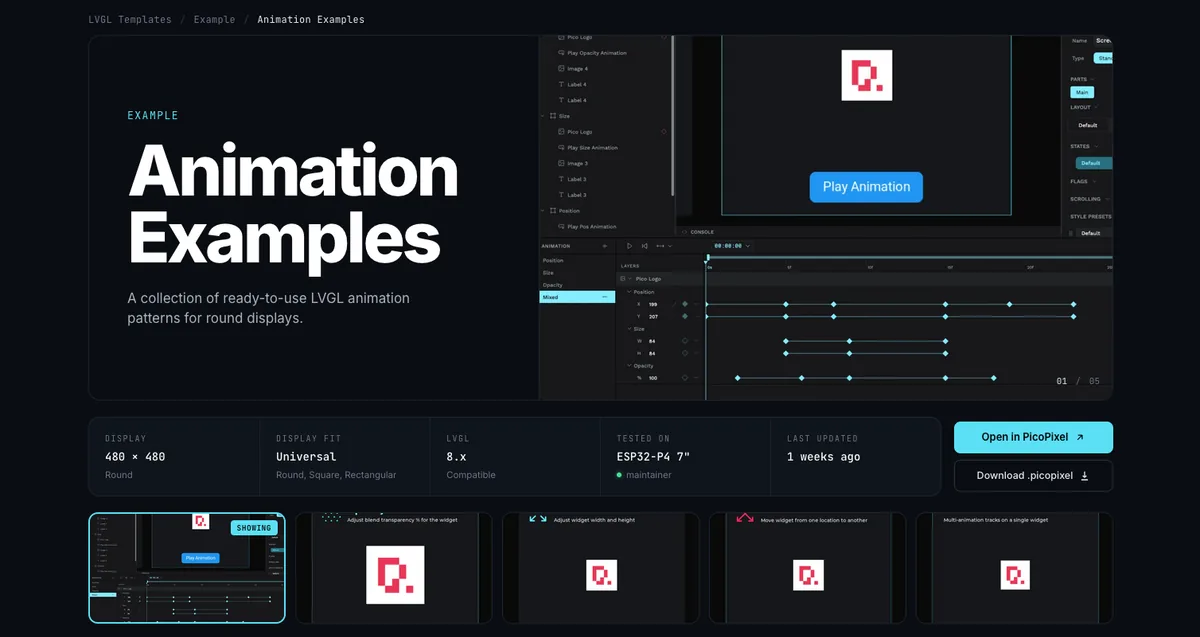
- Animated Image, a file or example built around LVGL animated image frames. See Working with the LVGL Animated Image Widget for the details.
- Widget, a customized LVGL widget or component you can drop into a larger UI.
If you are not sure where to start, use an example when you want to learn a behavior, a UI kit when you want reusable building blocks, and a template when you want a screen that is already close to the thing you are making.
Open or import a file
From the templates gallery, click any project that looks useful. You will land on a project detail page with a preview, metadata, gallery images, and action buttons.
There are three common ways to add the file to your PicoPixel workspace.
- Click Open in PicoPixel. This is the fastest path when you want PicoPixel to open the file directly in the editor.
- Click Download .picopixel. This saves the file locally so you can import it later, keep a backup, or share it with your firmware project.
- Download the
.picopixelfile from GitHub, then drag and drop it into PicoPixel or import it from the editor.
Once the file is inside PicoPixel, it behaves like any other PicoPixel project. Rename it, duplicate it, edit screens, replace assets, change fonts, tune colors, and export when it is ready.
Reuse what is inside
After a template is imported, the world is basically your oyster. You can use the whole file as a starting project, or treat it like a library of parts.
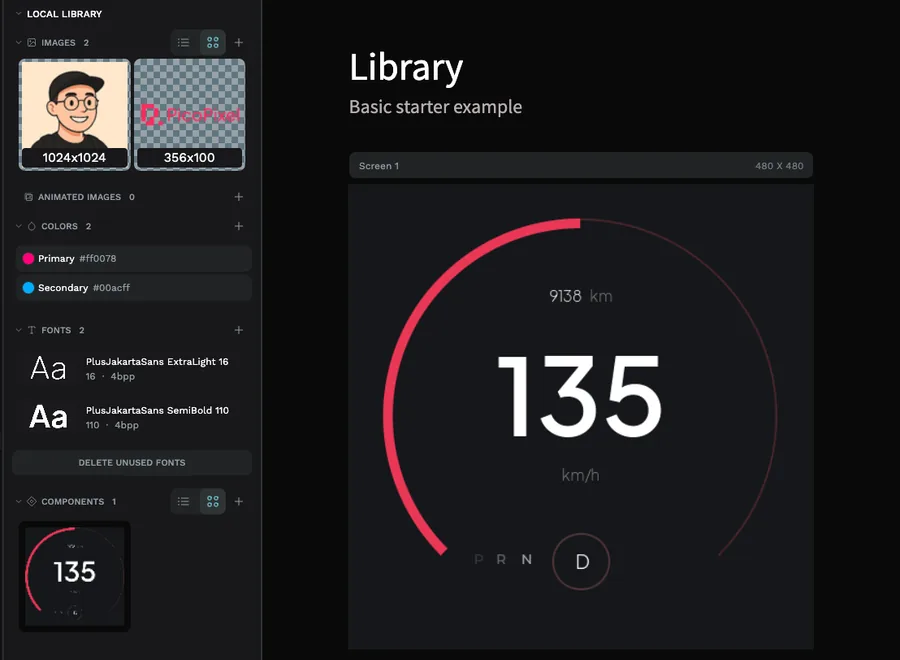
Many files include assets you can reuse, such as images, colors, fonts, animated image frame sets, and components. Open the Assets tab to see what came with the file.
If the file contains reusable LVGL widgets or components, you can turn it into a team library and link it from other files. That is especially useful for UI kits and widget packs: keep the source file as the main library, then pull its components into each product UI.
For the full workflow, read Guide to libraries and reusable LVGL components in PicoPixel. It explains local libraries, published team libraries, linked libraries, and how component updates move between files.
Exporting to a device
When your UI is ready, export the LVGL C code from PicoPixel and integrate it with the firmware for your board. The exported UI can run on virtually any device that supports LVGL, as long as your firmware and LVGL configuration are set up for the widgets and assets you used.
Pay attention to memory. Large images, animated image frames, sprites, big fonts, and complex full-screen layouts can require more RAM and flash than a tiny board has available by default. If something looks fine in PicoPixel but does not appear after flashing, check your LVGL configuration, image sizes, color depth, heap allocation, and display buffer setup.
Templates are starting points, not hardware guarantees. Always confirm that your board has enough RAM and flash for the UI you export, especially when using animated images, sprites, large fonts, or many image assets.
Where to go next
- Templates gallery, browse available
.picopixelfiles - How to submit a template, share your own PicoPixel file with the community
- Guide to libraries and reusable LVGL components in PicoPixel, reuse imported components across files
- What is a sprite?, learn how multi-state animated widgets work
- Working with the LVGL Animated Image Widget, understand frame-based LVGL animations