Overview
The animated image widget is the simplest way to put motion on your screen, a spinning loader, a bouncing icon, a blinking eye. This guide explains how the LVGL animated image widget works in PicoPixel: how to add one, why every frame has to be the same size, how to control its speed and looping, and how to start and stop it while your interface is running.
What is the animated image widget?
An animated image plays a sequence of still pictures one after another, like a flipbook. Each picture is a frame, and flipping through them quickly creates the illusion of movement. You hand it a set of frames, tell it how fast to play and whether to loop, and it does the rest.
It's perfect for a single, repeating animation: a loading spinner, a pulsing heart, a waving hand. One widget, one sequence, playing on a loop.
Under the hood this is LVGL's lv_animimg widget. When you export your project, PicoPixel writes the LVGL code for you (lv_animimg_create, lv_animimg_set_src, lv_animimg_set_duration, and so on), you never have to touch it. It targets LVGL 8.x.
Animated image vs. sprite - which should I use?
These two widgets look similar but solve different problems:
- Animated image, one animation that loops. Reach for it when your graphic only ever does one thing, like a spinner that spins.
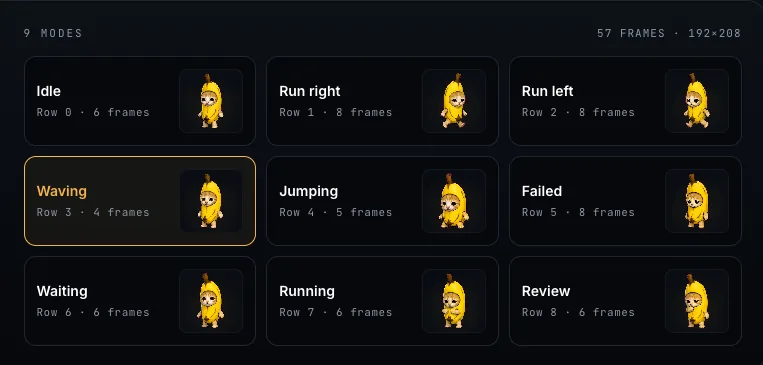
- Sprite, several animations in one widget, with the ability to switch between them (Idle, Running, Happy…). Reach for it when your graphic needs more than one mode.
In fact, a sprite is built out of animated images, each of its modes is its own animated image under the hood. So if you find yourself wanting a second animation you can toggle to, that's your sign to use a sprite instead.
Adding an animated image and uploading frames
- Add the Animated Image widget to your screen.
- In its properties, find the Image Set row and click Add Image Set.
- On the NEW tab, click the upload area ("Click to upload frames") and select your images. You can pick many at once, formats are PNG and JPEG (
.png,.jpeg,.jpg). - Click Continue to attach the frames to the widget. The Image Set row will now show how many frames you have (for example, "8 frames").
You can also grab a frame set you've used before from the Assets tab instead of uploading again.
Frames are ordered alphabetically by filename, so name them in sequence with leading zeros, frame_01.png, frame_02.png, frame_03.png, to guarantee they play in the right order. A name like frame_2.png would sort after frame_10.png, which scrambles your animation.
An animated image needs at least 2 frames, and you can add up to 32. If you need more motion than that, consider fewer, well-chosen keyframes, every frame is stored on the device.
Why all frames must be the same size
This is the one rule to remember: every frame must have the exact same width and height. If you try to add frames of different sizes, PicoPixel stops you with the message "All frames must have the same dimensions."
The reason is simple. The widget draws each frame in the same spot, in the same box. If frame 1 is 64×64 and frame 2 is 80×80, the picture would jump and shift as it plays instead of animating smoothly in place. Keeping every frame identical in size is what makes the motion look clean.
Resize your frames to match before you upload them. The quickest way to get a clean sequence is to export every frame from the same canvas in your image tool, so they're guaranteed to share dimensions.
Setting the speed: duration
The Duration setting controls how fast the animation plays. It's measured in milliseconds (ms) and represents the time for one full pass through all the frames, not the time per frame. The default is 1000 ms (one second).
PicoPixel splits that duration evenly across your frames. So a 1000 ms duration spread over 8 frames means each frame shows for 125 ms. Want it faster? Lower the duration. Slower and more relaxed? Raise it.
Looping: play once or run forever
The Repeat setting decides what happens when the animation reaches the end. You have two choices:
- Infinite, the animation loops forever. This is the default, and it's what you want for things like a spinner that should never stop.
- Normal (a count), the animation plays a set number of times and then stops. Set it to 3 and it runs three times, then holds on the last frame.
Controlling playback while your UI runs
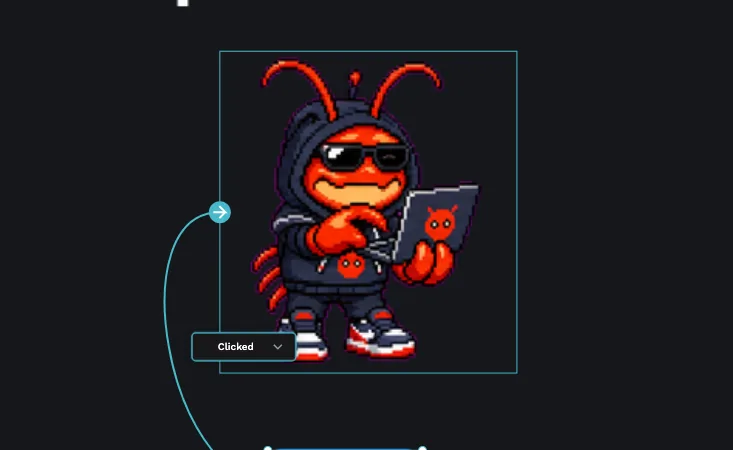
You don't have to let an animation run automatically: you can start and stop it in response to what the user does, using the event editor. Add an event, choose the Animated Image Mode action, point it at your animated image, and pick a mode:
- Start, begin (or resume) playing.
- Stop, pause the animation.
- Restart, jump back to the first frame and play again.
For example: keep a "connecting…" spinner stopped until a button is pressed, then Start it, and Stop it once the task finishes.
Keeping it light on memory
Animations are just images, and images take up space on a small device. A few habits keep things efficient:
- Use only the frames you need. Smooth motion rarely needs more than a handful of well-chosen frames.
- Keep frame dimensions modest. A 64×64 animation is far lighter than a 240×240 one.
- Match your color depth to the display (see the ESP32 tutorial for more on building for real hardware).
If you export to firmware, the animated image needs LV_USE_ANIMIMG enabled in your lv_conf.h. PicoPixel notes this for you in the exported README.md, so your build (or your AI assistant) knows exactly what to switch on.
Next steps
- Need more than one animation in a single widget? Step up to the sprite widget.
- Wire your animation to a button or other trigger with the event editor.
- Take your finished UI to a device with the ESP32 LVGL tutorial.