Overview
This is a beginner-friendly ESP32 LVGL tutorial. By the end you'll know how to design a touchscreen UI for your ESP32 visually (no hand-writing hundreds of lines of LVGL C code), preview it live in your browser, and export ready-to-flash code for your ESP-IDF, Arduino, or PlatformIO project.
If you've been searching for an ESP32 UI editor or a clear ESP32 LVGL guide, this walks through the whole flow with PicoPixel, a browser-based visual LVGL editor. No installation, no credit card.
Why use a visual editor for ESP32 UIs?
Building a touchscreen interface for an ESP32 the traditional way is slow. You hand-write LVGL C code to place each widget, set its colors and size, flash it to your board, squint at the display, nudge a few pixels, and flash again. Every small change means another round trip to the hardware.
A visual editor flips that around. You drag LVGL widgets onto a canvas, style them by clicking, and see the result instantly, then export the C code once you're happy. You spend your time designing instead of recompiling.
PicoPixel targets LVGL 8.x. The code it exports uses standard LVGL 8.x API calls with no proprietary runtime, so it drops into any ESP32 project that already runs LVGL 8.x. (LVGL v9 support is planned.)
What you'll need
You don't need much to follow along:
- An ESP32 board with a display, any ESP32 variant that can run LVGL works (more on specific boards below).
- Your firmware toolchain of choice: ESP-IDF, Arduino, or PlatformIO, with LVGL 8.x already added and your display + touch drivers working.
- A free PicoPixel account, everything in this guide happens in the browser.
If LVGL isn't running on your board yet, get a simple "hello world" label showing on the screen first using your display library (TFT_eSPI, LovyanGFX, or the ESP LCD panel API). Once any LVGL text appears, you're ready to drop in a real UI.
Step 1 - Set your display size
Open the editor and start a new project. The first thing to get right is the resolution, so your design matches your physical screen pixel-for-pixel.
Pick a preset that matches your display:
- 320×240, the most common small SPI TFT panels (ST7789, ILI9341).
- 240×240, round displays like the GC9A01.
- 480×320, 480×480, or 800×480, larger and square panels.
Getting this right up front means what you design is exactly what shows up on the device.
Step 2 - Design with drag-and-drop
Now the fun part. Drag LVGL widgets from the palette onto the canvas, buttons, labels, sliders, arcs, switches, charts, dropdowns, and more (30+ widget types in all). Position them, then use the side panels to style colors, fonts, spacing, and rounded corners visually. No C code at this stage.
A few things worth knowing as you build:
- Multiple screens. Add as many screens as you need and wire up navigation between them, great for menus, settings pages, and dashboards.
- Touch from the start. Widgets respond to taps, and containers scroll, so you can design real touchscreen interactions, not just static layouts.
- Fonts and images are first-class. Text and graphics on an embedded device need to be converted to a format LVGL can store. PicoPixel handles that for you, see our fonts guide for the details on keeping fonts small, and the sprites guide if you want animated, multi-state widgets.
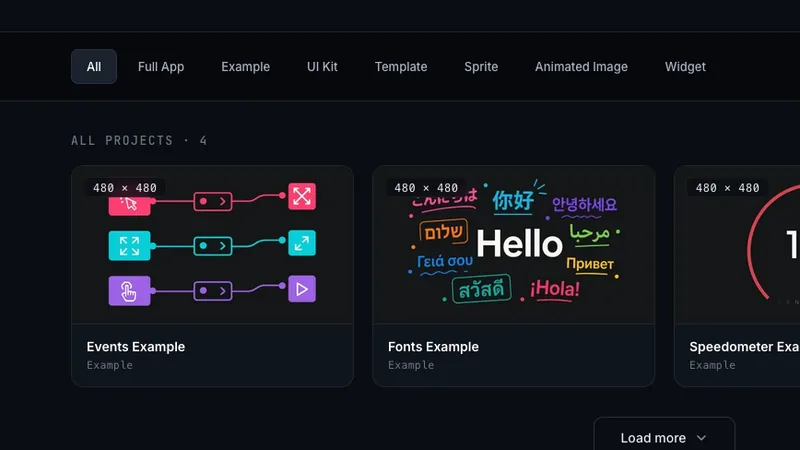
Starting from a template is often faster than a blank canvas, open one, swap the text and colors, and you've got a head start.
Step 3 - Preview it live
Before you touch your hardware, hit preview. PicoPixel runs the actual LVGL engine compiled to WebAssembly right in your browser, so what you see is genuine LVGL rendering, not a mock-up or a rough approximation.
Tap buttons, drag sliders, scroll, and check your screen navigation. Fixing layout issues here takes seconds; fixing them on the device takes a flash cycle. You can even share a preview link with a teammate or client for feedback.
Step 4 - Export production-ready C code
When the design looks right, export. You'll get a single picopixel_lvgl_ui.zip containing clean, standard LVGL 8.x C code:
-
ui.c/ui.h, the entry point, withui_init()andui_tick(). -
screens.c/screens.h, your screens and their layout. -
styles,fonts,images,actions, andvars, everything your design uses, generated for you. -
README.md, a plain-English description of the export (covered in Step 5).
There are no proprietary dependencies and no PicoPixel runtime library to add, it's vanilla LVGL, so it works the same whether you're on ESP-IDF, Arduino, or PlatformIO.
Step 5 - Add the UI to your ESP32 project
Unzip the export into your project (most people put it under a ui/ folder). Then you only need to do two things in your firmware: call ui_init() once after LVGL and your display/touch drivers are set up, and call ui_tick() in your main loop.
Here's the shape of it in an Arduino-style sketch:
#include <lvgl.h>
#include "ui/ui.h"          // exported by PicoPixel

void setup() {
  lv_init();
  // ... initialize your display + touch drivers here ...
  ui_init();                // builds the UI you designed
}

void loop() {
  lv_timer_handler();       // let LVGL render and handle input
  ui_tick();                // keep PicoPixel's screens updated
  delay(5);
}
To switch screens at runtime (for example, when a button is pressed), call loadScreen() with the screen you want. That's the whole integration, compile, flash, and the UI on your ESP32 matches what you saw in the browser.
Prefer to let an AI assistant wire it up? Hand the exported zip, including its README.md, to a coding assistant like Claude Code, GitHub Copilot, or Codex. That file explains the project structure, the public API, and the lv_conf.h settings your widgets need, so the assistant can drop the UI into your project and get it building for you.
Which ESP32 boards work?
Because PicoPixel exports standard LVGL C code, it runs on essentially any ESP32 that can run LVGL 8.x. A quick guide to the variants:
- ESP32-S3, the sweet spot for most display projects: dual-core with PSRAM and plenty of headroom for rich UIs.
- ESP32 (original) / ESP32-S2, fine for simpler interfaces; watch your memory budget.
- ESP32-C3 / C6, lightweight single-core RISC-V chips, good for smaller UIs.
- ESP32-P4, Espressif's most powerful chip, with a dedicated GPU for smooth, high-resolution interfaces. PicoPixel's export has been tested on ESP32-P4 boards from Waveshare and Guition.
Popular ready-made boards, LILYGO T-Display-S3, M5Stack Core2/CoreS3, Waveshare and Sunton display boards, the Espressif ESP32-S3-BOX, and the budget "Cheap Yellow Display", all work, as do common drivers like ST7789, ILI9341, GC9A01 (round), and ILI9488.
Keeping your UI light on memory
Embedded displays have far less memory than a phone or laptop, so a little care keeps your UI fast and flash-friendly:
- Right-size your fonts. Each font is stored at a fixed pixel size, and large character sets (especially Chinese, Japanese, and Korean) add up fast. The fonts guide shows how to include only the characters you actually use.
- Match your color depth to the display. A 16-bit panel doesn't need 32-bit images, choosing the right depth shrinks your assets.
- Reuse instead of duplicating. Build a widget once and reuse it across screens and projects.
Common questions
Does PicoPixel work with ESP32?
Yes. It generates standard LVGL C code that works with ESP-IDF, Arduino, and PlatformIO on any ESP32 variant that runs LVGL 8.x, and the export has been tested on ESP32-P4 hardware.
Which LVGL version does it support?
LVGL 8.x. The exported code uses LVGL 8.x APIs, so don't mix it with LVGL 9.x calls. (v9 support is planned.)
Do I have to write any C code?
Only the small amount of glue in Step 5, calling ui_init() and ui_tick(). The UI itself is designed visually and generated for you.
Is it free?
Yes. PicoPixel is free for personal and hobby use with no credit card required. Commercial use starts from $17/mo ($204/yr).
Next steps
You now have the full path from idea to flashed UI: set your resolution, design with drag-and-drop, preview live, export, and integrate. From here:
- Jump into the editor and start a project at app.picopixel.io.
- Browse the ESP32 GUI builder page for more on board and framework support.
- Make your widgets richer with animated sprites and custom fonts.
- Weighing your options? See how PicoPixel compares to other LVGL editors.