Overview
हर PicoPixel file अपनी library रखती है: colors, fonts, images, animated images और components, जिन्हें वह use करती है, Assets panel में collected. अकेले में यह library उसी एक file की होती है. File को Publishing करने से उसकी library ऐसी चीज बनती है जिसे teammates reuse कर सकते हैं: दूसरी file से link करें और उसके assets उस file के own assets के साथ दिखाई देंगे.
यह guide बताती है कि library क्या है, Publish exactly क्या करता है (और उतना ही important, क्या नहीं करता), libraries publish और link कैसे करें, और वे कहां मिलती हैं. सबसे important बात:
Publishing आपकी work को public नहीं बनाता. Publish file की library को सिर्फ आपकी team के लिए reusable बनाता है, यानी आपके PicoPixel workspace के लोग. यह internet पर post नहीं होती, publicly listed नहीं होती, और team के बाहर किसी को visible नहीं होती. Content team से बाहर सिर्फ उन तरीकों से जाती है जिन्हें आप deliberately करते हैं, guide के end में covered.
Library क्या है
Library reusable assets का set है जो file के अंदर रहता है. Assets panel में आपकी file के own assets local library के नीचे दिखते हैं; यह हमेशा मौजूद है और default रूप से खुलती है.
जब आप दूसरी team library अपनी file में link करते हैं, तो वह local library के नीचे second, separately named section के रूप में आती है, उस library की file name heading के साथ (example, Animation Examples). Link होने के बाद Assets panel दोनों दिखाता है: आपकी file के own assets और linked library के assets, side by side, drag करने के लिए ready.
इसे same cupboard की दो shelves समझें: local library वह है जो इस file ने बनाया, और हर linked library आपकी team की दूसरी file से उधार ली shelf है. Design छोड़े बिना दोनों से pull करें.
Library क्या hold कर सकती है
File के Assets panel में जो भी है, publish पर library के साथ travel करता है. PicoPixel assets को इन sections में group करता है:
- Images, file में added static graphics.
- Animated images, multi-frame animated graphics.
- Components, reusable LVGL widgets (नीचे देखें).
- Colors, saved color swatches.
- Fonts, fonts जिन्हें add और on-device use के लिए convert किया गया है.
File publish करें और ये सब आपकी team के लिए reusable हो जाते हैं, files के बीच copy-paste के बिना.
"component" क्या है
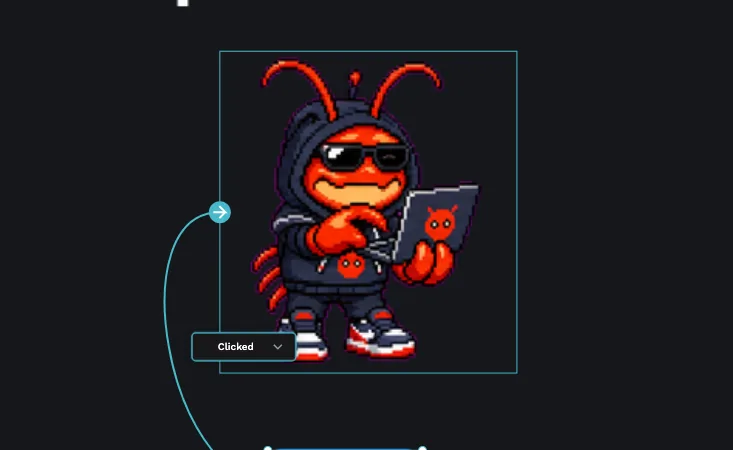
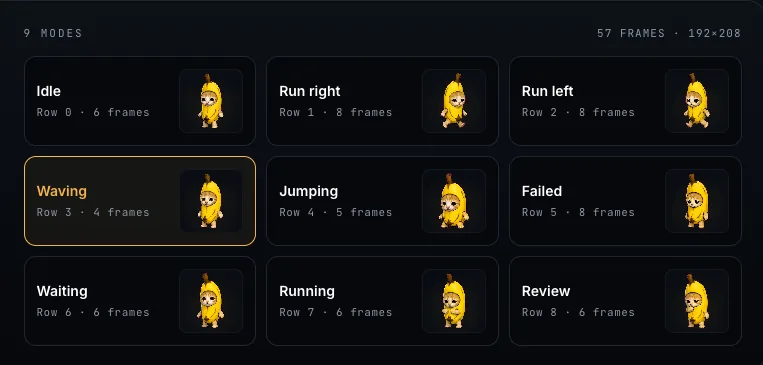
Component one or more widgets से बना reusable building block है. Single button या label एक widget है, लेकिन component कई widgets और layers को bundle कर सकता है, जैसे title, icon और value वाली styled card, और पूरी चीज को reusable unit की तरह treat करता है जिसे किसी भी screen में drop करते हैं.
हर component की main instance होती है. Main instance edit करें और change उस component की हर copy में flow करता है, जहां भी use हो, even दूसरी files में जो आपकी library link करती हैं. यही components को consistent UI के लिए powerful बनाता है: control एक बार define करें, everywhere reuse करें, one place में update करें.
अगर आप screens में वही छोटा widget cluster बार-बार rebuild कर रहे हैं, header bar, metric tile, labelled toggle, तो वह component बनने का इंतजार कर रहा है. Once build करें, और हर screen lockstep में रहेगी.
File को library के रूप में publish करना
Publishing एक switch flip करता है: यह आपकी file को team के लिए shared library mark करता है.
- Libraries dialog खोलें. Assets panel से Add library button use करें (file में linked libraries या components already हों तो यह Manage library पढ़ता है).
- LIBRARIES tab पर LIBRARIES IN THIS FILE के नीचे देखें. आपको File library दिखेगी, current file की library, उसके next Publish button के साथ.
- Publish क्लिक करें.
Button Unpublish में बदलता है, confirming कि file अब shared library है जिसे team link कर सकती है. PicoPixel file में छोटा library badge भी add करता है: आप उसे workspace header के top-right में और Dashboard में file card पर देखेंगे, ताकि published files spot करना आसान हो.
बाद में Unpublish क्लिक करने पर confirm पूछा जाता है, फिर library unlink होती है. PicoPixel पहले उस library के assets को हर using file में copy कर देता है, ताकि dependent files अचानक अपना relied-on content न खो दें.
Team libraries ढूंढना
Published libraries पूरी team के लिए एक जगह gathered होती हैं.
- Dashboard खोलें.
- Left sidebar में Sources के नीचे Libraries क्लिक करें.
यह page आपकी current team में published हर library list करता है; team switch करें तो उस team की libraries दिखेंगी. यह catalogue है जिसे teammates available reusable चीजें देखने के लिए browse करते हैं.
Another file में library reuse करना
Library publish होने के बाद team की कोई भी file उसे pull कर सकती है.
- वह file खोलें जिसमें build करना है.
- Assets panel में Add library (या Manage library) क्लिक करके Libraries dialog खोलें.
- SHARED LIBRARIES section में library ढूंढें; list लंबी हो तो Search shared libraries box मदद करता है, फिर link करने के लिए next + क्लिक करें.
Linked library अब आपके Assets panel में local library के नीचे अपनी named section के रूप में दिखाई देती है. उसके components, images, colors और fonts सीधे design में drag करें.
Linked library up to date रखना
जब linked library बदलती है, owner component edit करता है या color tweak करता है, तो updates खुद आप पर force नहीं होते. Libraries dialog का UPDATES tab linked libraries में newer changes list करता है, और Update button उन्हें आपकी file पर apply करता है जब आप ready हों. अगर कुछ नहीं बदला, tab simply बताता है कि update करने को कुछ नहीं.
Privacy: यहां कुछ भी public नहीं बनता
यह part दोहराने लायक है, क्योंकि Publish word असल से बड़ा लगता है.
Library publish करना उसे आपकी team से share करता है, और किसी से नहीं. Access authenticated है और team तक scoped है: कोई public link नहीं, public listing नहीं, और team के बाहर कोई published library reach नहीं कर सकता. "Published" का मतलब "मेरे teammates के लिए available," full stop.
आपकी बनाई चीज team से बाहर जाने के exactly two तरीके हैं, और दोनों चीजें आप choose करते हैं:
- आप खुद
.picopixelfile export और send करते हैं. Workspace menu से Export.picopixelकर सकते हैं, जो computer पर file download करता है. उस file के साथ क्या करते हैं, email, share, किसी को hand off, यह entirely आप पर है और PicoPixel के बाहर होता है. - आप PicoPixel team को official submission करते हैं. अगर आप चाहते हैं कि design wider PicoPixel community से share हो, तो
app.picopixel.io/#/settings/submit-templateपर review के लिए submit करें. Community gallery में publish होने से पहले team हर submission review करती है. Form needs और granted rights के लिए How to submit a template देखें.
इन दो deliberate steps के अलावा आपकी files और libraries team के अंदर रहती हैं.
Community templates और ready-made libraries
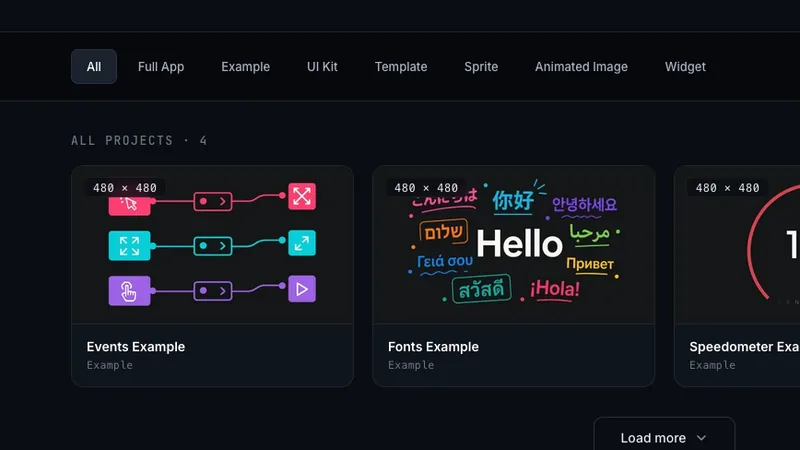
Scratch से start करना जरूरी नहीं. PicoPixel templates gallery में templates, UI kits, examples, sprites, animated images और full app files का growing collection है, PicoPixel team और wider community द्वारा created. हर one regular .picopixel file है जिसे आप open, customize और अपने project का starting point बना सकते हैं.

आप जो भी template open करते हैं वह library भी बन सकता है: publish करें और आपकी team को उसके components, fonts, colors और images का access मिलेगा, rebuild किए बिना. यह new project bootstrap करने या existing one में polished elements add करने का fastest तरीका है.
Templates find, import और customize करने की full walkthrough के लिए How to use PicoPixel templates, UI kits, and full apps देखें.
आगे कहां जाएं
- How to submit a template, wider PicoPixel community से design share करें
- What is a sprite?, animated, multi-state widgets बनाएं जिन्हें components में बदलना worth हो
- Working with fonts, library carried fonts add और convert करें
- Working with the LVGL Animated Image Widget, reusable animated images create करें