Overview
यह guide PicoPixel में pets use करना समझाती है: directory से एक चुनने से लेकर उसे अपने project में drop करने और hardware की activity पर react कराने तक.
यह सीधे दो other guides पर built है. Underlying concept चाहिए तो पहले What is a sprite? पढ़ें. अपना pet publish करना है तो How to submit a pet देखें. यह article बीच में है: किसी और द्वारा already built pet को use करने का practical, hands-on tutorial.
Prior animation work जरूरी नहीं. अगर आप "Add to project" क्लिक कर सकते हैं और widget canvas पर drag कर सकते हैं, तो अपने ESP32 या LVGL project को living, reacting character दे सकते हैं.
Pets क्या हैं?
Pet एक sprite है, single widget जिसमें several different animations रहती हैं और आप demand पर उनके बीच switch कर सकते हैं. हर animation एक mode है (state या phase भी कहते हैं): "Idle," "Run right," "Jumping," and so on.
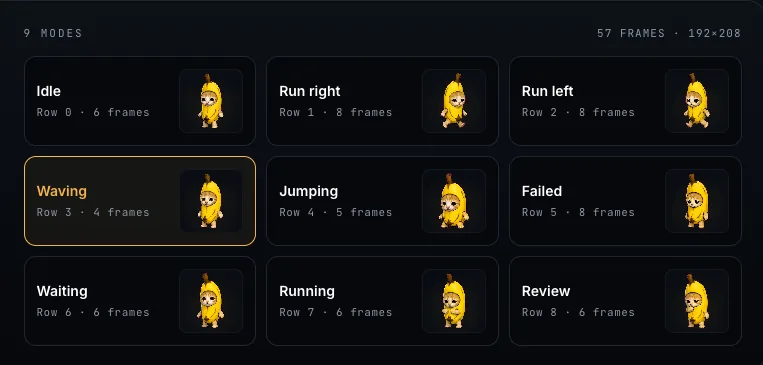
Codex- या Petdex-style packs से आए pets generally out of the box 9 modes के साथ ship होते हैं, जैसे Idle, Run right, Run left, Waving, Jumping, Failed, Waiting, Running और Review. हर mode frames का अपना little loop है, और आप decide करते हैं कौन-सा कब play होगा.
पूरी idea यही है: one widget, many behaviors, जिन्हें आपकी conditions switch करती हैं.
Technical level पर LVGL में multi-state sprite का native concept नहीं है; हमने इसे LVGL animated image widget के ऊपर बनाया ताकि modes आपके लिए wired up मिलें. Full background के लिए What is a sprite? देखें.
Pet क्यों use करें?
Pets आपके ESP32 या LVGL project में life का spark देते हैं. Static face या single looping animation के बजाय sprite react करता है: device पर actual happening के based modes switch करता है.
Original inspiration code companion है. Codex-style screen imagine करें जहां छोटा character coding session पर react करता है: आप सोचते हैं तो idle, diff read करते समय "Review", build break होने पर "Failed". Pet app की activity mirror करता है.
PicoPixel इसे आगे ले जाता है: जो भी action या trigger express कर सकते हैं, उसे animate कर सकते हैं. कुछ examples:
- Temperature reading threshold cross करे तो Jumping पर switch करें.
- API से data fetch करते समय Running play करें, फिर response आने पर Idle पर लौटें.
- Sensor motion detect करे तो Waving fire करें, या request timeout हो तो Failed.
अगर project में दिखाने लायक states हैं, pet उन्हें दिखाने का fast, expressive तरीका है, बिना animation code लिखे.
Directory से pet चुनें
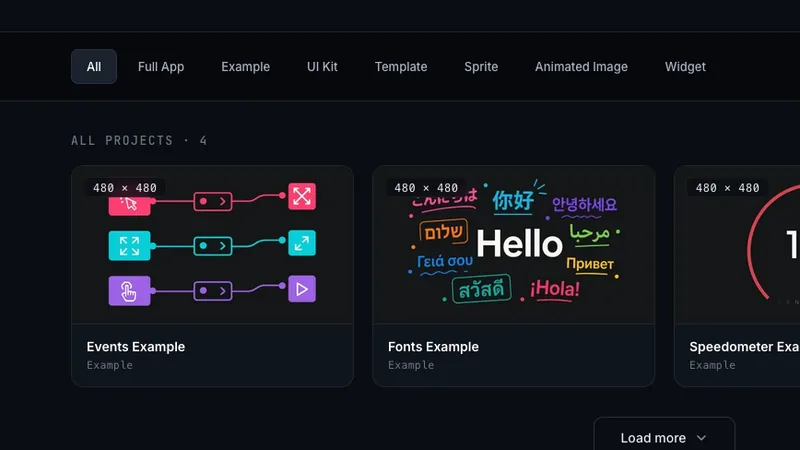
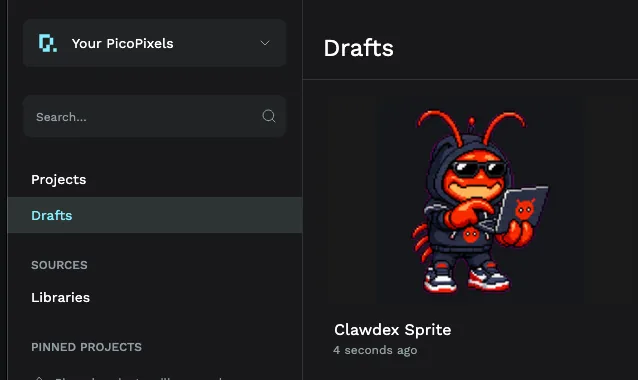
Start करने के लिए PicoPixel account बनाएं, फिर pets directory पर जाएं: picopixel.io/pets.
Gallery browse करें, पसंद का character ढूंढें, और उसका detail page खोलें.

Pet के detail page पर Add to project क्लिक करें. PicoPixel pet import करके सीधे dashboard में डाल देता है: no setup, no file wrangling.
अभी आपको क्या मिला
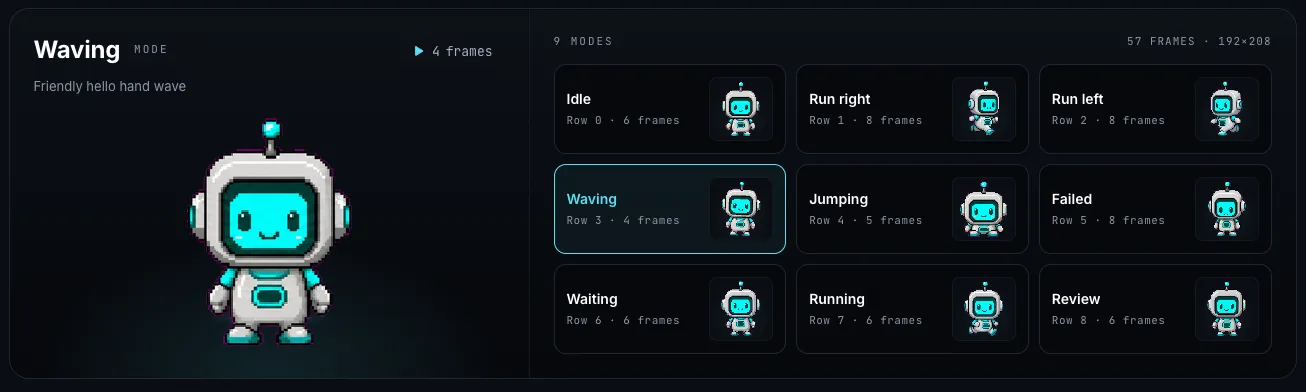
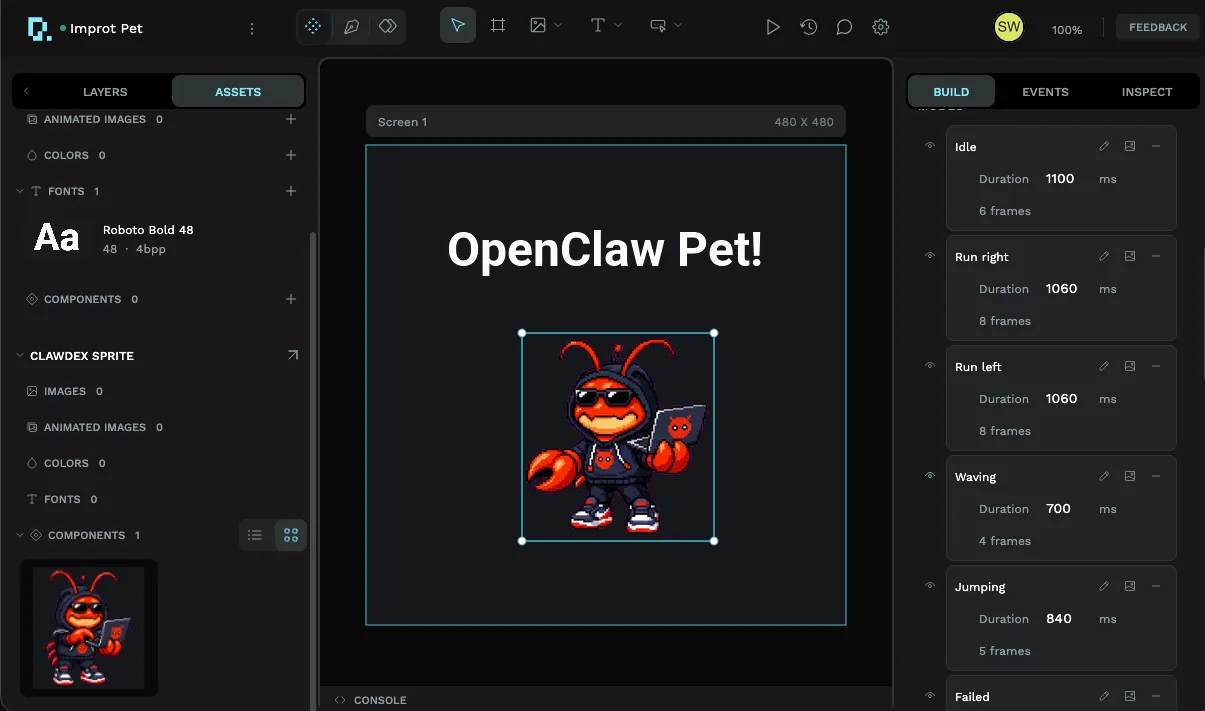
Pet add करने से single project बनता है जिसमें एक Sprite widget होता है, pet के हर mode के साथ pre-loaded. Open करें तो canvas पर sprite दिखेगा, और right-hand panel में सारे modes listed होंगे: Idle, Run right, Run left, Waving, Jumping और बाकी, हर एक अपने frame count और duration के साथ.
अगर Sprite widget नया है, तो What is a sprite? guide modes, frames और durations detail में समझाती है.
Assets tab पर switch करें और वही sprite project की local library में reusable component के रूप में saved मिलेगा. यही pet को real projects में ले जाने की key है.
Pet use करने के तीन तरीके
Pet का अपना project सच में delivery vehicle है. उसे actual project में लाने के तीन तरीके हैं.
1. Layer copy और paste करें
Quickest option: pet project में sprite layer select करें, copy करें, दूसरा project खोलें, और paste करें. Sprite अपने सभी modes के साथ आता है. One-off के लिए अच्छा; अगर pet सिर्फ एक जगह चाहिए, done.
2. Pet को library बनाएं (reuse के लिए recommended)
अगर आप pet को कई workspaces में use करेंगे, तो उसके project को library बनाएं. File publish करने से उसके assets, including sprite, आपकी team के workspaces में anywhere import के लिए available होते हैं.
Publish करने के लिए:
- Pet project में Assets tab खोलें और Add Library चुनें.
- Publish क्लिक करें.
फिर another project से use करने के लिए:
- अपना new या existing workspace खोलें.
- Add Library चुनें.
- नीचे दिखाए अनुसार Shared libraries list से pet की library link करें.
Link होने के बाद sprite उस workspace के Assets में दिखाई देता है. Canvas पर drag and drop करें और वह fully pre-configured load होगा, pet के हर mode के साथ.
Libraries team के अंदर reuse के लिए हैं, world में publish करने के लिए नहीं. Library क्या hold करती है, publishing कैसे काम करता है, और linked libraries कहां appear होती हैं, इसके लिए Guide to libraries and reusable components देखें.
3. Project properties hardware से match करें
आप pet project की properties (screen size, target board) को अपने device से match करके सीधे उसी में build भी कर सकते हैं. यह works, लेकिन recommended path नहीं है: pet और actual project के बीच clean separation खो जाती है, और pet project showcase के रूप में setup है, template नहीं. पहले options 1 या 2 choose करें.
Wire it up: pet को react कराएं
जो pet सिर्फ Idle play करता है, वह ज्यादा कुछ नहीं करता. Payoff event editor से आता है, जहां आप बताते हैं कब modes switch करने हैं.
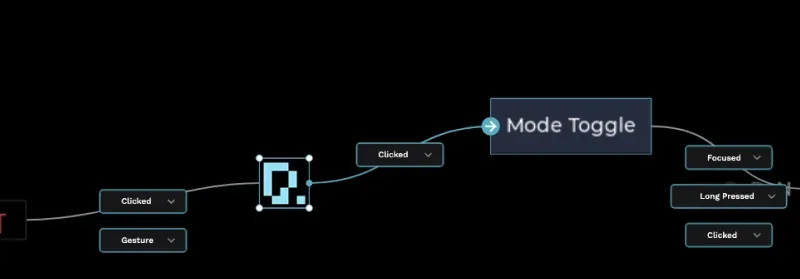
Pattern simple है: जब कुछ happens, mode पर switch करें. Trigger चुनें, button press, value change, timer, और action Set Sprite Mode चुनें, फिर play होने वाला mode.
नीचे screenshot में हमने JUMP! button पर event add किया: click होने पर action sprite mode को Jumping set करता है, इसलिए button press होते ही pet leap करता है.
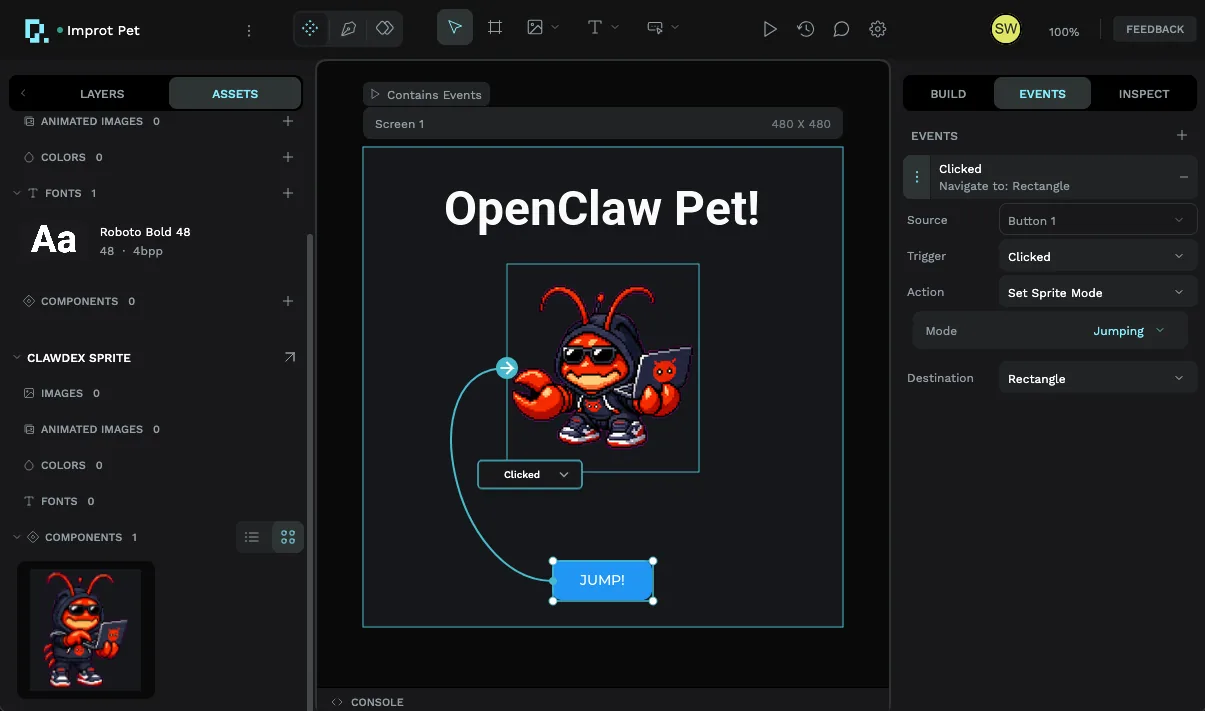
Trigger को आपके project की किसी भी चीज से swap करें, sensor reading, API call finish होना, timer firing, और वही wiring pet को react करा देगी. Triggers, sources और actions की full rundown के लिए Using the event editor देखें.
कुछ बातें ध्यान में रखें
कुछ practices pet को real hardware पर अच्छा दिखने और चलने में मदद करेंगी.
- जो modes use नहीं करेंगे उन्हें remove करें. यह strongly recommended है. हर kept mode memory में more frames है, और unused ones pure overhead हैं. Storage- या memory-constrained boards पर trimming सबसे important है; जो mode trigger नहीं करेंगे उसे delete करें.
- Events मत भूलें. Pet अपने आप कुछ नहीं करता. हर mode के लिए condition add करने को event editor use करें, जैसे ऊपर JUMP! button wire किया.
- Device memory पर ध्यान दें. Animated images को frames hold करने के लिए enough RAM चाहिए. Exported LVGL code की
README.mdfile अपने coding assistant को दें; यह document करती है, या खुद ensure करें कि animated images के लिए enough memory allocated है. Flashing के बाद sprite न दिखे तो लगभग हमेशा यही वजह होती है.
Sprites heavy हो सकते हैं. Small microcontroller पर all 9 modes और large frames वाला pet memory exhaust कर सकता है और render नहीं होगा. सिर्फ actual use वाले modes रखें, और confirm करें कि LVGL configuration animated images के लिए enough RAM allocate करती है.
आगे कहां जाएं
- What is a sprite?, pets के पीछे concept: modes, frames और durations.
- Using the event editor, pet को react कराने के लिए हर trigger और action.
- Guide to libraries and reusable components, pet को once publish करें और everywhere reuse करें.
- How to submit a pet, अपना unique pet बनाएं और community से share करें.
- Pets gallery, community pets browse करें और दूसरा grab करें.