Overview
Looking for a free LVGL animation template with real keyframe control? This PicoPixel project shows timeline-based widget animations for position, size, opacity, and mixed tracks on a 480 x 480 embedded UI canvas.
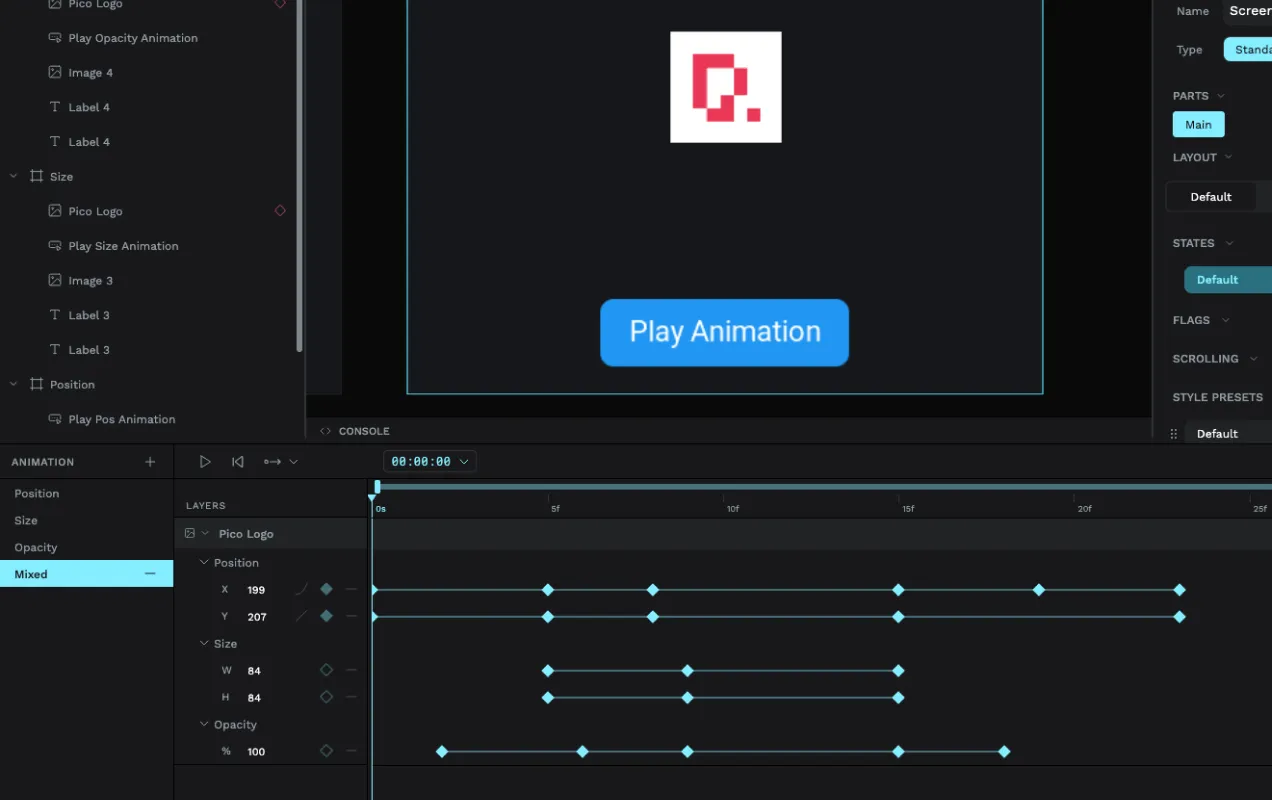
These are not just static motion mockups or frame-by-frame image sequences. The template demonstrates granular, keyframe-style animations where individual properties are controlled over time. In the timeline view, you can see separate tracks for X/Y position, W/H size, and opacity, with keyframes placed along the timeline so each property can change at its own moment.
Use it as a starting point for ESP32 dashboards, onboarding screens, loading states, attention cues, confirmation feedback, smart-device interfaces, kiosk panels, or any LVGL UI where a widget should move, resize, fade, or combine multiple animated properties after the user presses a button.
What's included
- Four 480 x 480 animation examples, laid out as Position, Size, Opacity, and Mixed boards.
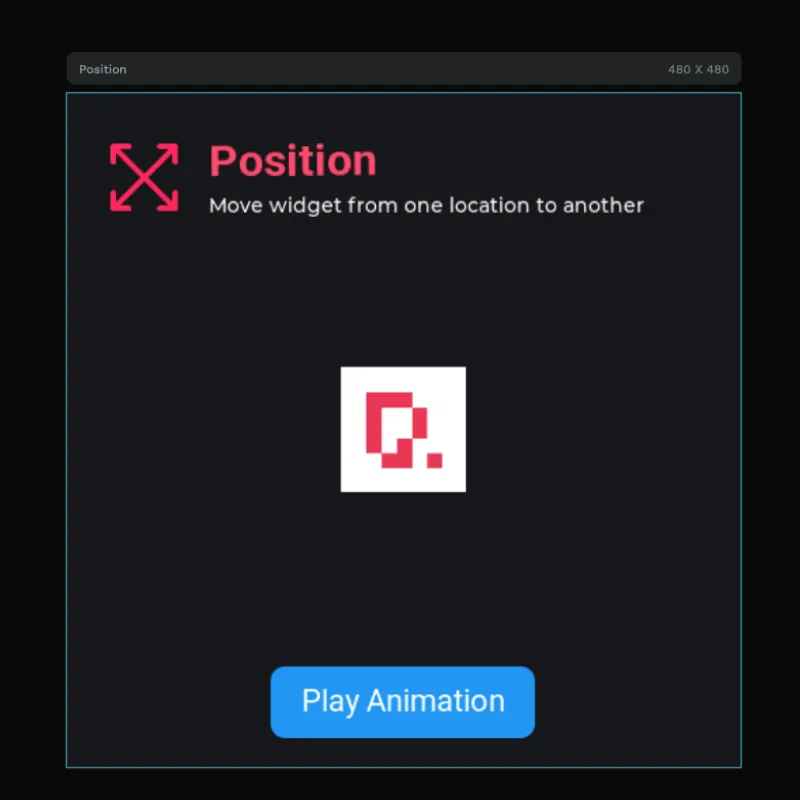
- Position animation, moving a widget from one location to another with keyed X/Y changes.
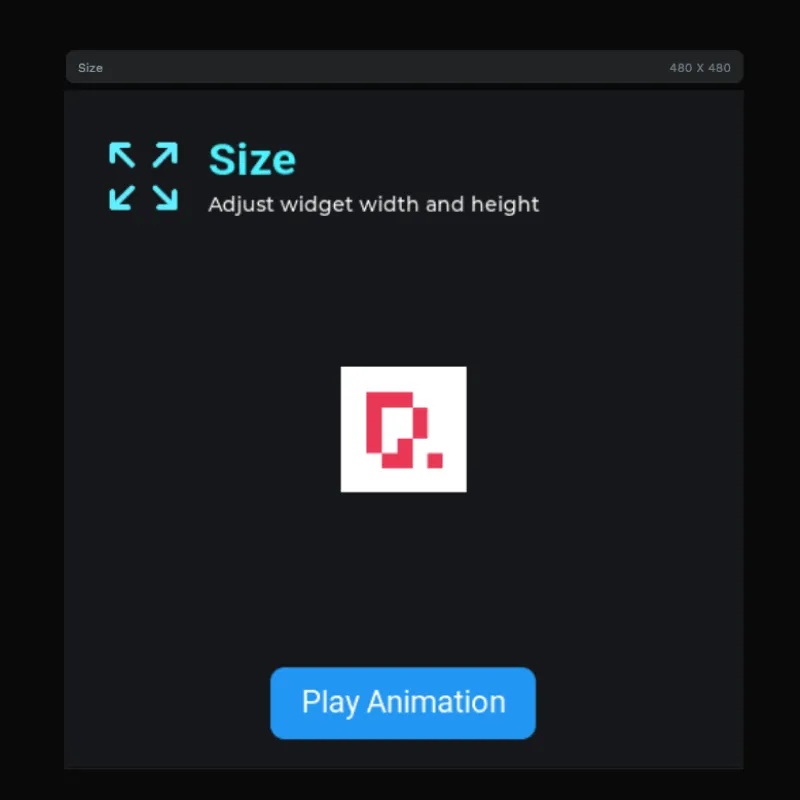
- Size animation, adjusting widget width and height with keyed W/H changes.
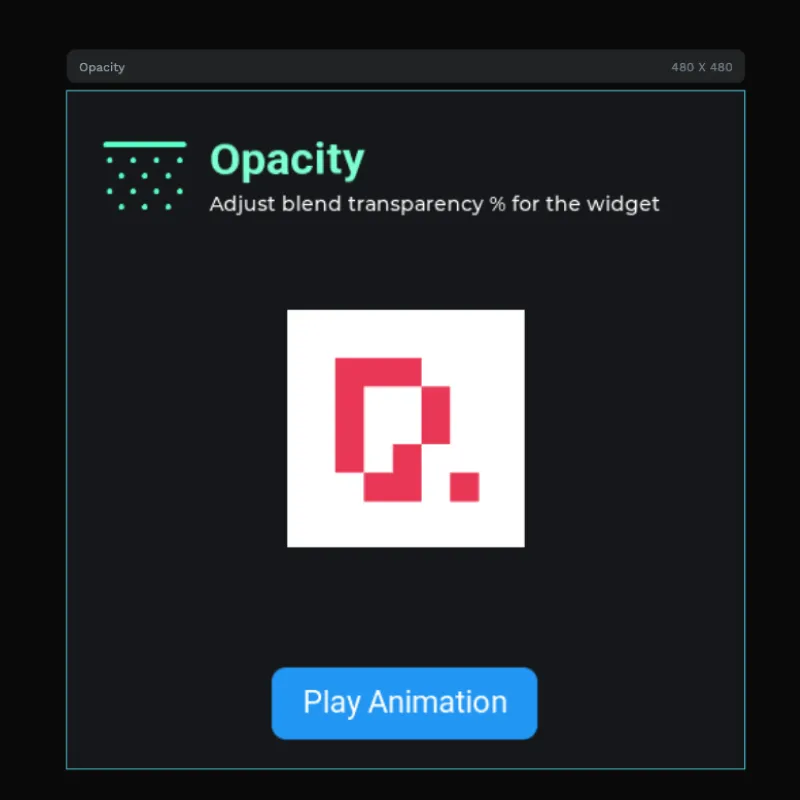
- Opacity animation, changing blend transparency over time for fade-style effects.
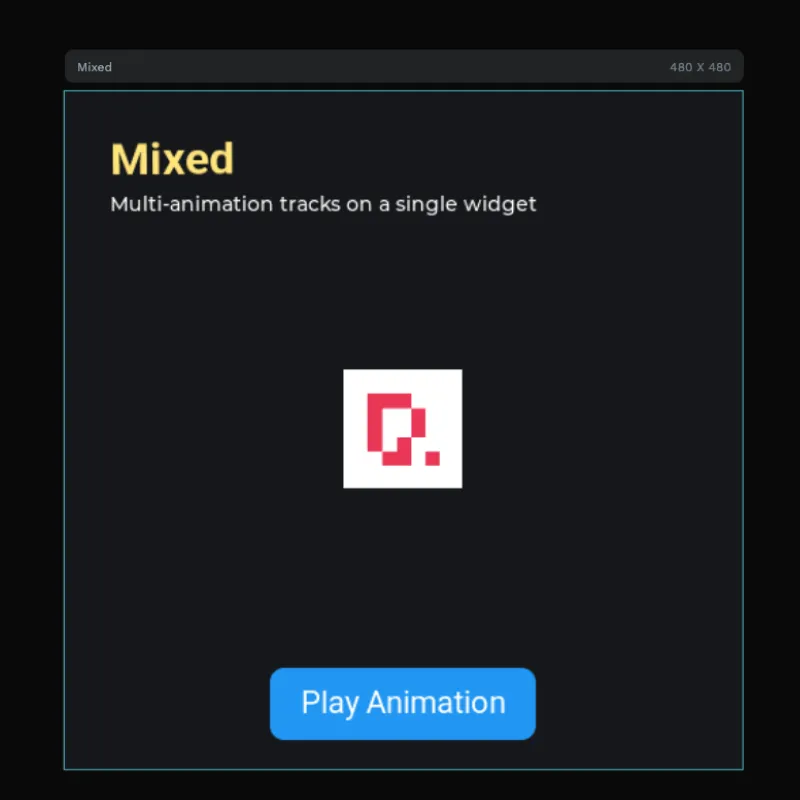
- Mixed animation, combining multiple animation tracks on a single widget.
- Play Animation buttons, one per example, so each timeline can be triggered from the UI.
- Timeline/keyframe editor preview, showing the actual animation mode with tracks and keyframes.
- PicoPixel logo target, used as the animated widget in each example.
- Reusable visual icons, including position, size, opacity, and mixed animation graphics.
- Roboto font assets, used for the card headings, captions, and buttons.
Asset snapshot
The assets panel shows this as a compact LVGL animation reference:
- Images:
5, including the PicoPixel logo, logotype, and small animation concept icons. - Colors:
0, with colors applied directly in the design. - Fonts:
2,Roboto 22andRoboto Bold 32. - Widgets:
0, keeping the example focused on screen objects, events, and animation timelines.
Visible image assets include:
-
96x96position/resize-style cyan icon. -
96x96opacity-style cyan dotted icon. -
250x250PicoPixel logo image. -
356x100PicoPixel logotype image. -
96x96pink mixed/position-style icon.
That asset set is intentionally small. The motion comes from keyframed LVGL object properties, not from storing a large sequence of image frames.
Layer structure
The layer panel groups the project by animation type:
-
Position, containingPlay Pos Animation,Pico Logo,Image 1, and labels. -
Size, containingPlay Size Animation,Pico Logo,Image 3, and labels. -
Opacity, containingPlay Opacity Animation,Pico Logo,Image 4, and labels. -
Mixed, containingPlay Mixed Animation,Pico Logo, and labels.
Each board follows the same teaching pattern: a title and description explain the animation type, a PicoPixel logo acts as the animated target, and a blue button triggers playback.
Timeline and keyframes
The key point of this template is that the animations are timeline-controlled. In the animation editor preview, the left side lists animation types such as Position, Size, Opacity, and Mixed. The timeline then expands the selected animated widget into property tracks.
For the mixed example, the screenshot shows:
- Position tracks, with separate
XandYvalues. - Size tracks, with separate
WandHvalues. - Opacity track, with a
%value. - Multiple keyframes, placed at different points in time.
- Timeline scrubbing, so you can inspect the animation at a precise timestamp.
This is what makes the example more powerful than a simple transition. You can choreograph a widget by setting exact values at exact times, then preview the result before exporting.
Before exporting, rename the important objects in PicoPixel, for example btn_play_position, btn_play_size, btn_play_opacity, btn_play_mixed, animated_logo, and animation_card. Clear names make the generated LVGL animation and event code much easier to follow.
Timeline animations vs frame animations
This template is about keyframed widget animations: moving, resizing, and fading LVGL objects over time. That is different from a frame-based animated image, where each frame is a separate bitmap.
- Use this template when you want to animate an LVGL object's properties, such as position, width, height, or opacity.
- Use an LVGL animated image when you have a pre-rendered frame sequence like a spinner, sprite-like loader, or illustrated loop.
- Use the event editor when you want a button, screen load, gesture, or other trigger to play one of these animations.
Both approaches can be useful. Keyframes are usually better for UI motion and transitions because they keep the object editable and can avoid storing many image frames.
Why this works well for LVGL
LVGL is good at updating object properties over time, and PicoPixel's animation mode makes those values visible instead of hiding them in hand-written C.
- Position keyframes map to object coordinates, useful for panels, icons, cards, and notification movement.
- Size keyframes map to width and height, useful for expanding controls, pulse effects, progress emphasis, and focus states.
- Opacity keyframes map to blend transparency, useful for fades, disabled states, reveals, and attention cues.
- Mixed tracks combine multiple properties, so one widget can move, resize, and fade as a single timeline.
- Events can trigger animations, so a button click can run the timeline in the live preview and exported LVGL project.
- The project exports as standard LVGL 8.x UI code, so it can be integrated into ESP-IDF, Arduino, PlatformIO, STM32, Zephyr, or another LVGL build.
Runtime pattern
PicoPixel can generate the animation setup and play actions for you. If you need to extend an exported project by hand, the same concept maps to normal LVGL animation code: initialize an animation, choose a target object, set values and timing, and start it.
static void set_opa(void * obj, int32_t value)
{
    lv_obj_set_style_opa((lv_obj_t *)obj, (lv_opa_t)value, 0);
}

static void fade_logo(lv_obj_t * logo)
{
    lv_anim_t a;
    lv_anim_init(&a);
    lv_anim_set_var(&a, logo);
    lv_anim_set_values(&a, LV_OPA_COVER, LV_OPA_30);
    lv_anim_set_time(&a, 450);
    lv_anim_set_exec_cb(&a, set_opa);
    lv_anim_start(&a);
}
For most template users, the visual timeline is the easier path: create the keyframes in PicoPixel, connect a button with the Play Animation event action, then export.
Open the project in PicoPixel to preview all animations live before flashing. No hardware required for preview mode.
Customizing
Use this as a free LVGL keyframe animation template, then adapt the timelines to your own UI.
- Replace the PicoPixel logo with your own icon, status tile, card, modal, or indicator.
- Change the position keyframes to slide a panel, move a notification, or guide attention to a control.
- Change the size keyframes to build a pulse, button feedback, expanding card, or focus state.
- Change the opacity keyframes to fade content in or out.
- Combine position, size, and opacity in the mixed example for richer UI motion.
- Adjust timing so the animation feels quick enough for embedded interactions.
- Use events such as
ClickedorScreen Loadedto play animations at the right moment. - Keep image sizes modest and remove unused assets before flashing to memory-limited boards.
Exporting to your project
Open the template in PicoPixel, inspect the animation timeline, rename the important objects, and preview each board with its Play Animation button. Then export the project as LVGL C code.
For ESP32 projects, the usual flow is:
- Choose the board that matches the motion you need: Position, Size, Opacity, or Mixed.
- Replace the logo and labels with your own UI objects.
- Adjust the keyframes, timing, and easing in the animation timeline.
- Use the event editor to connect a trigger to the Play Animation action.
- Export the PicoPixel UI as LVGL C.
- Add the exported files to your ESP-IDF, Arduino, or PlatformIO project.
- Call
ui_init()after LVGL and your display driver are ready.
For more background, read the event editor guide and the guide on using PicoPixel templates.
Best uses
This template is a good fit when you want a clear starting point for:
- LVGL keyframe animation examples
- ESP32 UI motion prototypes
- Timeline-controlled widget motion
- Button-triggered animation playback
- Position, size, and opacity animation testing
- Loading states and progress feedback
- Confirmation and attention cues
- Onboarding screens and interactive demos
- Learning how PicoPixel visual timelines become LVGL behavior